
Uh, Turns Out, You’ve Been Color Correcting the Wrong Way
IDK about you, but there’s nothing I hate more than spending 30 minutes on my makeup, only to notice that the dark circles under my eyes and the redness on my cheeks have magically reappeared an hour later. So after many failed attempts at evening out my skin tone with a cocktail of concealer, foundation, and powder, I decided it was time to actually perfect the art of color correcting. And since the whole thing isn’t suuuper intuitive (which color goes where?! why?!), I called in a pro to help.
According to Sir John (makeup artist to Beyoncé, y’all), you need to identify three things before you start: (1) where you need to correct, whether that’s under your eyes, around your nose, etc.; (2) what you need to correct, like dark shadows, yellow tones, or redness; and (3) the right shades to use to get the job done. Ahead, everything you need to know to get started—including the exact products you should use for your skin tone.
Color Correcting 101
Okay, before you apply any makeup, take a look at yourself in the mirror—natural light is preferable—and figure out where and what you want to “correct” (hey, we didn’t make up the term, but remember, there’s nothing “incorrect” about your face to begin with, k? U perfect). “Your look can go awry very easily if you don’t map out where and what you need to color correct,” says Sir John. “Your skin can look too light or your concealer might peek through your foundation if you use the wrong shade.”
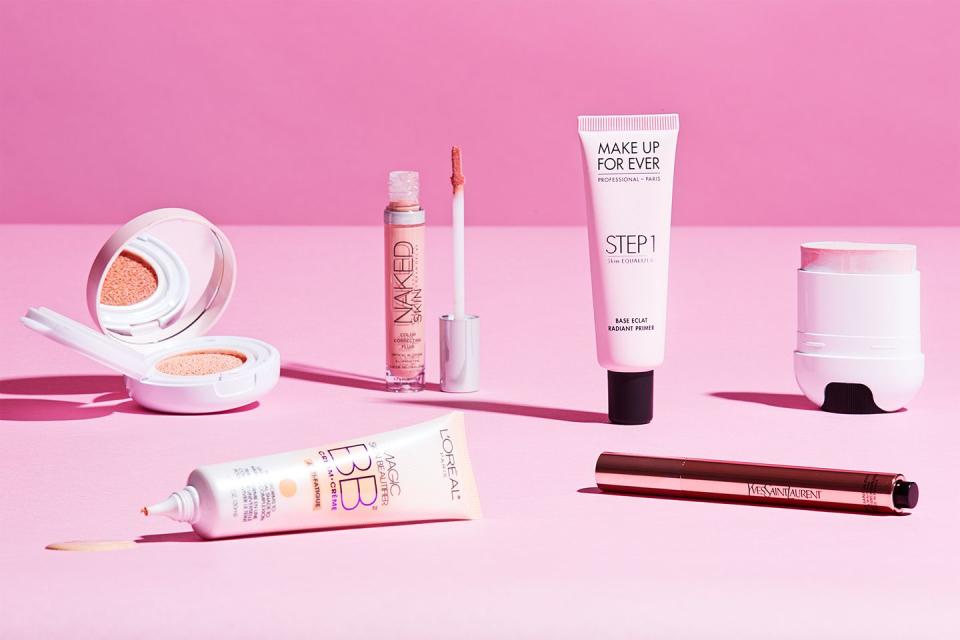
Basically, finding the right shade of concealer is key when you’re color correcting, and it depends entirely on your skin tone and concerns. That said, there’s six colors you’ll want to keep in mind while color-correcting: pale pink (which brightens blue-toned spots on fair skin), peach (neutralizes blue/purple shadows on medium skin tones), orangey pink (cancels out dark spots on dark skin tones), yellow (offsets purple or darker-toned shadows on olive or tan skin), green (neutralizes redness), and lavender (cancels out yellow tones).
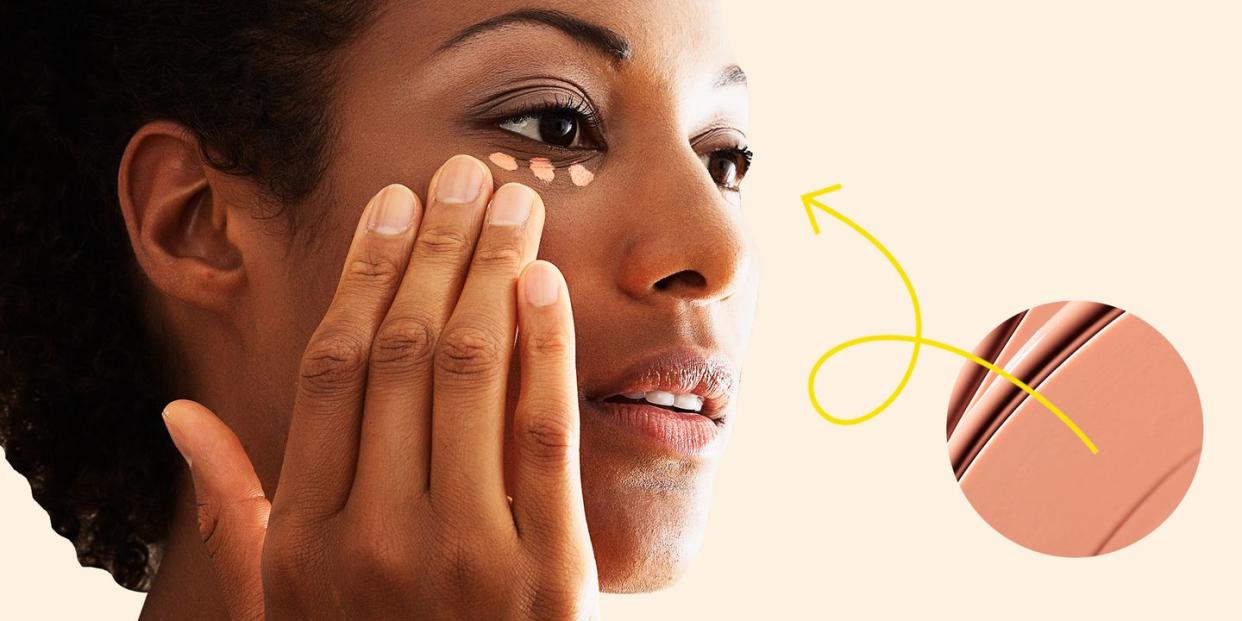
To color correct like a boss, Sir John suggests applying your foundation or tinted moisturizer first so you won’t have to use as much color corrector as you accidentally would on a makeup-free face. “Keep in mind you’re not covering a tattoo or a bruise when color correcting—you’re focusing only on brightening shadows,” he says. “Apply lightly with your fingertips, and the warmth of your skin will help blend the product with your skin tone.”
With Sir John’s tips and tricks in mind, I had three lovely models demonstrate their approach to color correcting. Keep in mind that everyone’s skin concerns are a little different, so what works for your friend might not work for you—and that’s totally okay! Color correcting is all about trial and error, but here are a few options and product recs to get you started:
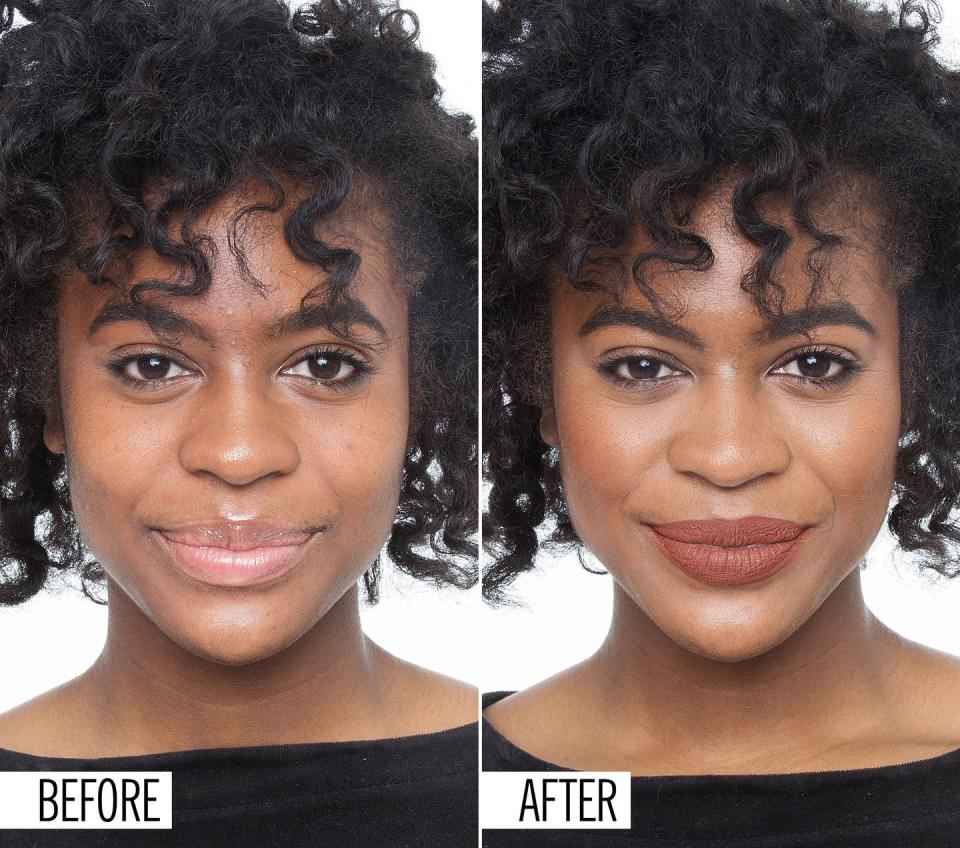
How to Color Correct on Dark Skin Tones
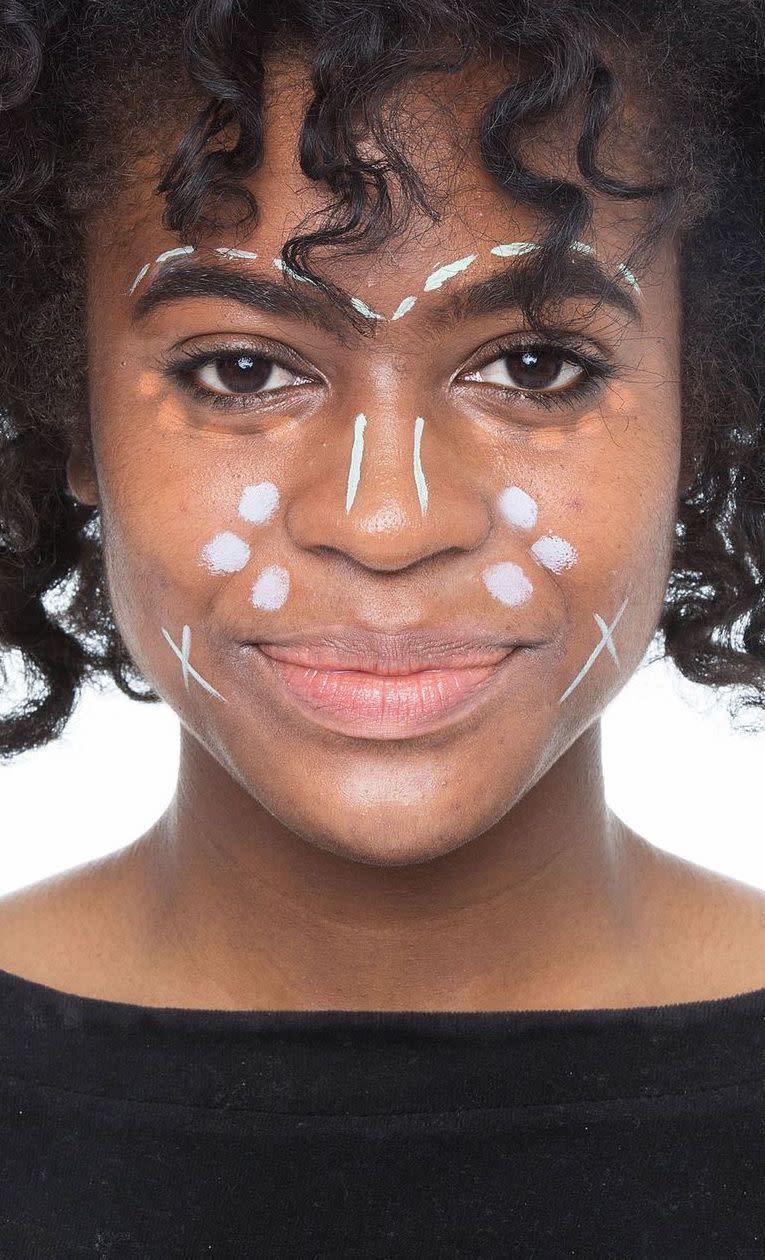
With Maya here, we decided to target three specific areas: yellow tones around her nose (using a lavender concealer); redness along the top of her brows, down her nose, and on the sides of her mouth (with a light-green concealer); and dark shadows under her eyes (with a deep-peach concealer).
How to Color Correct on Medium Skin Tones
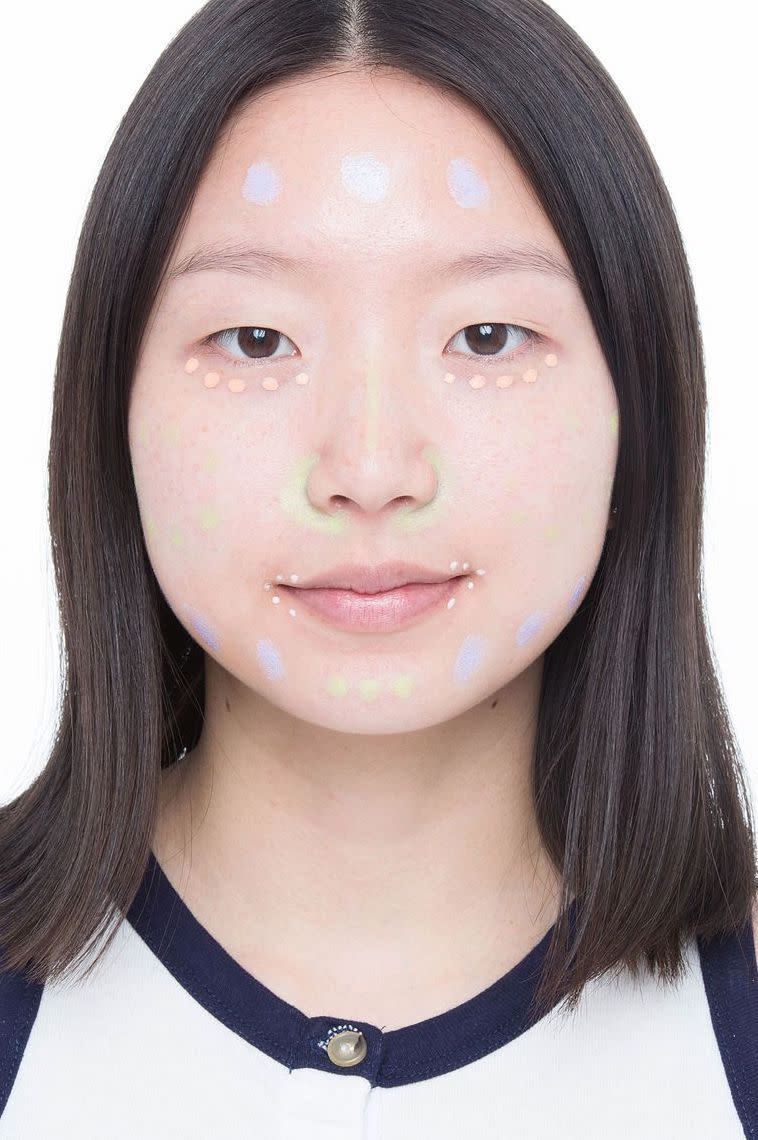
With Heeseung, her main concerns were redness on her cheeks, around her nose, and on her chin (which we combated with a medium-green color corrector); yellow tones on her forehead and jawline (which we neutralized with a violet formula); and darkness around her mouth (which we brightened with a pale-yellow shade).

How to Color Correct on Fair Skin Tones
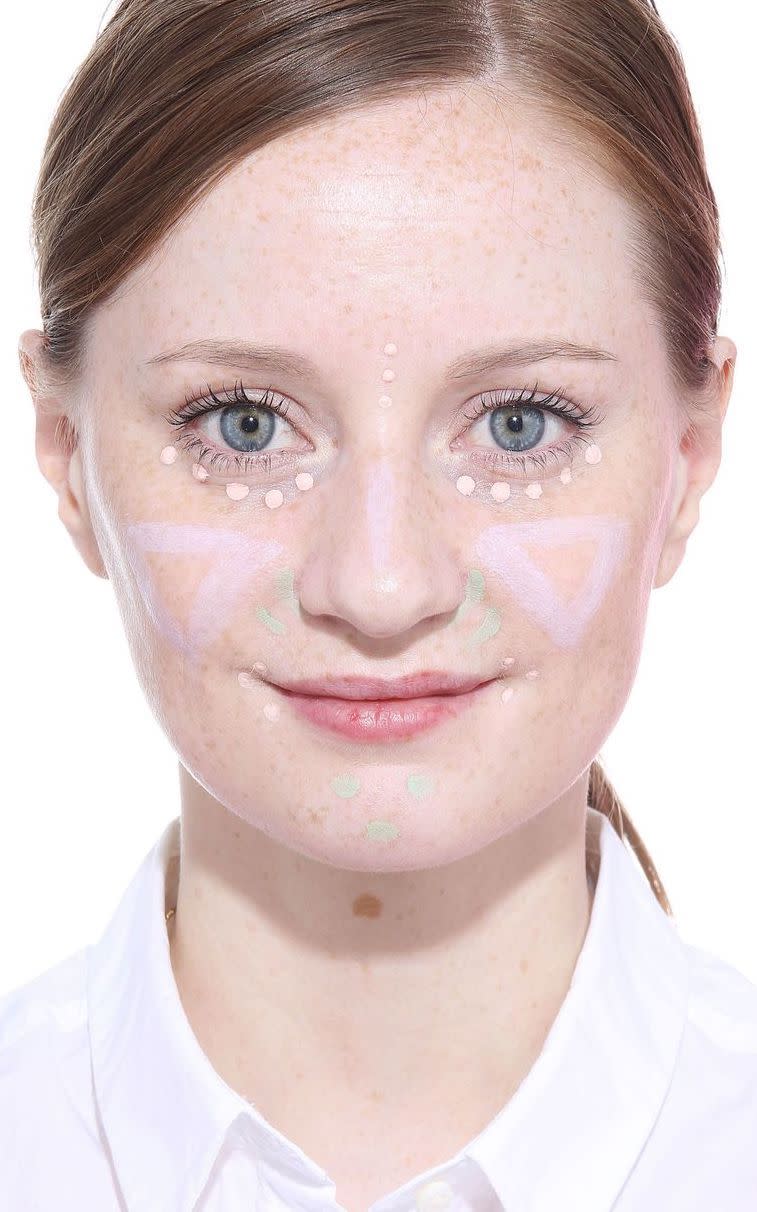
To cancel out the dark shadows under Emma’s eyes and around her mouth, we used a pale-pink concealer. A pale-green concealer was drawn around her nostrils and chin to nix the redness, and a lilac corrector was smoothed across her cheeks to neutralize yellow tones.

And There Ya Have It
See?! Color correcting isn’t too hard if you take the time to figure out your concerns before you start. Now go on out there and show your office bathroom mirror your skills.
You Might Also Like

