

Sadia Pepper Grilled Chicken Breast
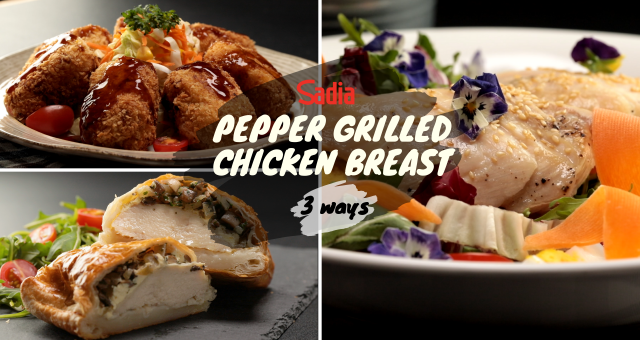
Sadia Pepper Grilled Chicken Breast 3 Ways
Today we are using Sadia’s pepper grilled chicken breasts to prepare three amazing chicken dishes that you can easily prepare at home!
Grilled Pepper Chicken Salad
Grilled Pepper Chicken Salad
Ever wanted a plate of meaty chicken salad but felt like it was too much of a hassle to marinate and cook the chicken? You end up settling for a plate of plain leafy salad with zero protein because it’s the fastest and easiest way to prep a meal.
Sadia’s pepper grilled chicken breasts will help solve all your meal prep worries! These grilled chicken breasts are pre-marinated and pre-cooked so you’ll have delicious chicken in a matter of minutes! Just pop them in the oven and you’ll have mouth-watering chicken ready to eat in no time!

First, reheat the chicken at 200°C using a traditional oven or microwave oven for approximately 15 minutes.

Reheat in oven at 200°C for 15 minutes
A salad is never complete without dressing so while we wait for the chicken to reheat, we’ll quickly whip up the dressing. Today we will be making a simple yet flavourful miso vinaigrette dressing!
Simply combine the white miso, honey, white rice vinegar, olive oil, mirin, and season with a dash of salt and pepper.
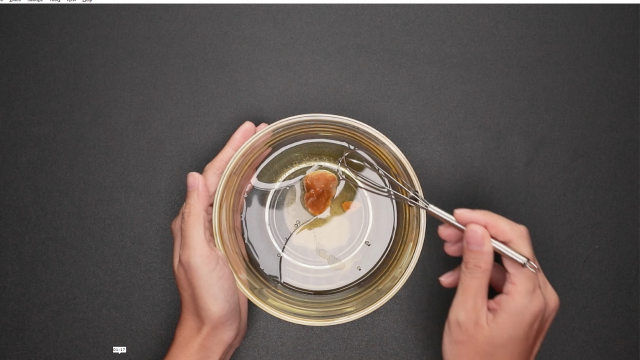
Combine miso vinaigrette ingredients
Set this aside and go on to prepare the salad base.
You may use any form of seasonal vegetables, we have chosen to use Italian mesclun salad for our salad base. Add in wedges of hardboiled eggs, cherry tomatoes, and carrots for some colour and added nutrients!

Assemble the salad, eggs, carrots, cherry tomatoes and edible flowers
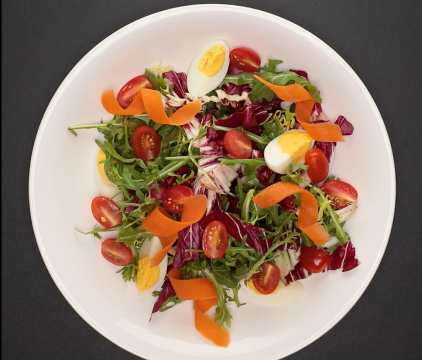
An appetising plate of colours and nutrients
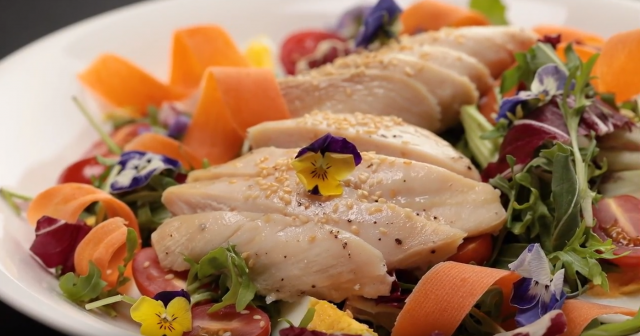
Slice two pieces of Sadia’s pepper grilled chicken into strips and place them in the middle of the greens.
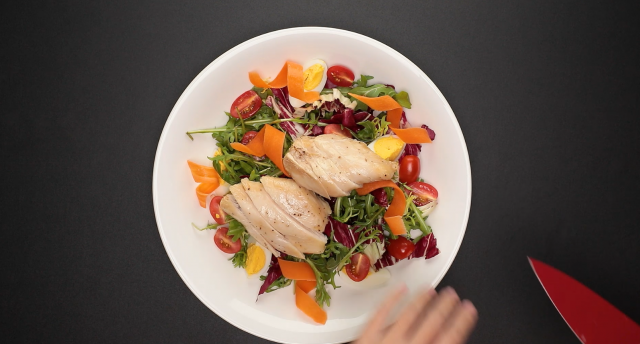
Place the sliced chicken breasts on the salad
Then, drizzle the miso vinaigrette dressing onto the salad. What’s great about this dressing is that its sweetness and tartness complements the salad perfectly!

Add in the toasted sesame seeds for a nice nutty crunch to the salad.
Here, we are also placing some pretty edible flowers to beautify the salad. If you have some of them, you can add them too!
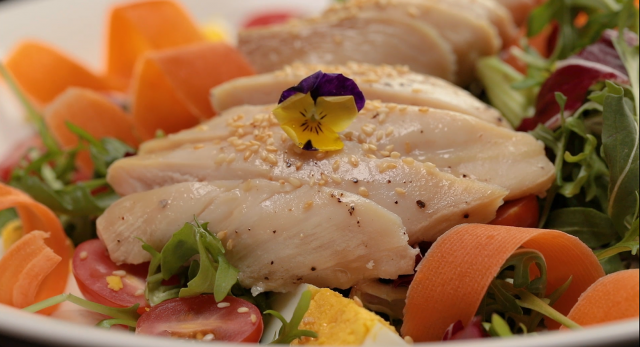
Garnish with roasted white sesame seeds and edible flowers
Salads don’t have to be boring! Take a look at what we’ve done here!
Crispy Chicken Croquette
Crispy Chicken Croquette
Did you know that croquettes first came about because people didn’t know what to do with leftover chicken? Very much like chicken nuggets, these fried finger foods have been widely known to be concocted from leftover poultry. However, we felt that Sadia’s pepper grilled chicken breasts could do more justice to this popular finger food. This healthy and delicious recipe is a great dish to serve as an appetizer, party food or even as a meal! Here’s a fool-proof way to create some mouth-watering crispy chicken croquettes.
We already have the chicken heated up, so we will prepare the potatoes for the croquette filling first. Boil the russet potatoes for 15 minutes until they are soft enough to be mashed.
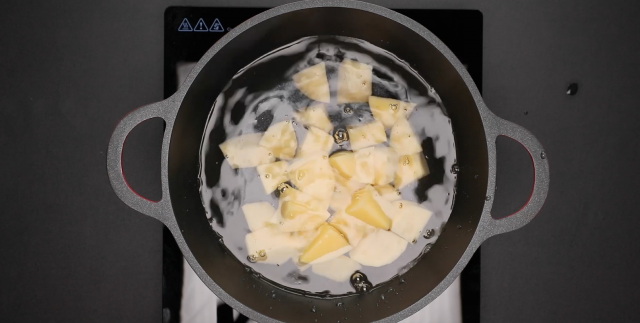
Boil the russet potatoes till soft
Drain the water out and mash the potatoes using a fork. If the potatoes are not soft enough to be mashed, simply throw them back into the water to boil for a few more minutes.
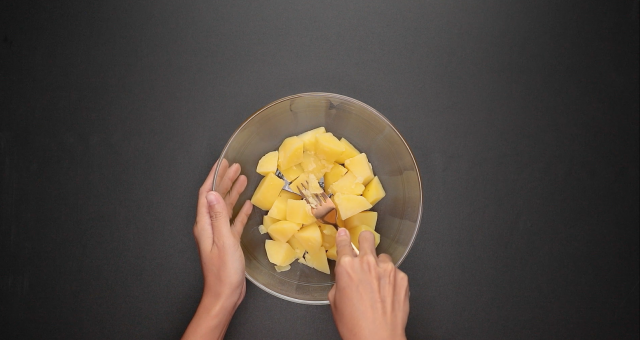
Mash the potatoes using a fork
Dice the grilled chicken pieces into small chunks. A tip here is to have some of the chicken cut up in bigger chunks so it makes for a good bite when eating the croquettes.
Dice the chicken into small chunks
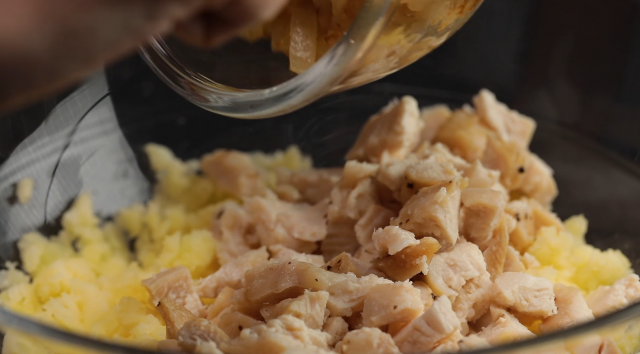
Mix the chicken into the potatoes, and add some cooked onions for an extra punch for this dish.
Combine the diced chicken, mashed potato and sauteed onions
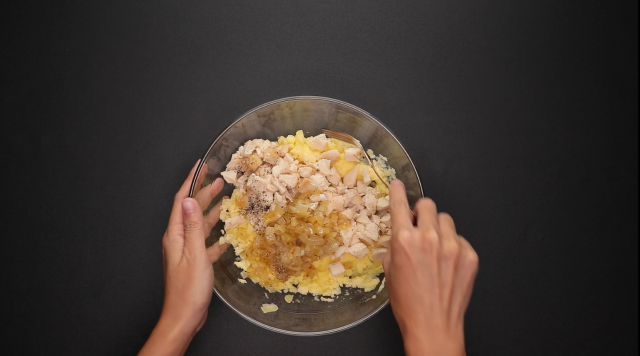
Season the mixture with salt and pepper to taste. Stir thoroughly.
The next step is to assemble the croquettes! Grab a handful of potatoes and shape it into a croquette.

Place them on a plate and chill them in the refrigerator for an hour. This helps to bind all the ingredients together so they will hold together well while frying!
Before frying the patties, we need to coat them first.
Coat the potatoes with cornflour, beaten eggs and panko (in this order), then put them in a frying pan with oil.
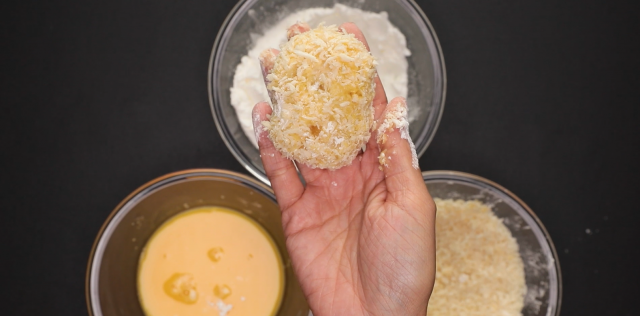
Coat the croquettes with corn flour, egg wash and panko
Deep fry the patties until they are nice and golden. A tip here is not to fry too many pieces of croquettes at one go as this will lower the temperature of the oil, causing unevenness during the frying process.
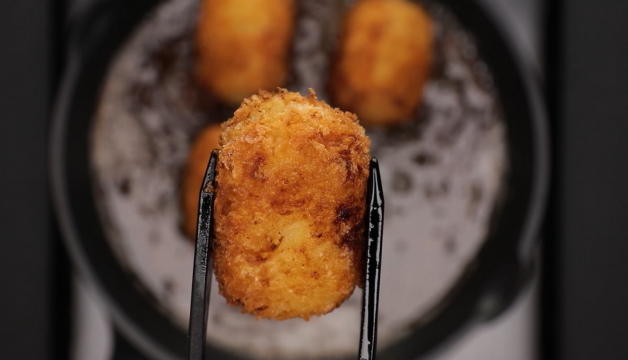
Fry the croquettes till golden brown
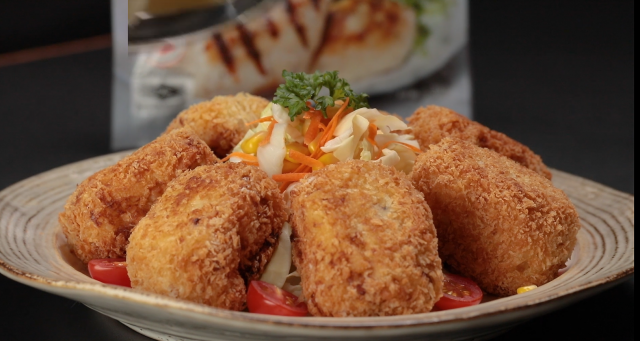
Lastly, it’s time to drizzle the delicious Japanese tonkatsu dressing on the croquettes. This is a perfect pairing and will surely impress your party guests.
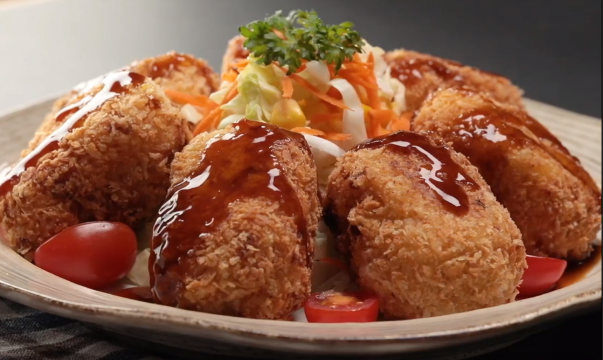
Chicken croquettes perfectly paired with tonkatsu sauce
Chicken Wellington

Chicken Wellington
The last dish is the chicken wellington.
Making any type of wellington may seem like a daunting task, I mean, we’ve seen Gordon Ramsay’s iconic beef wellington, it’s the ultimate special-occasion showstopper and it looks unachievable, but fret not! Using our easy steps and Sadia’s pepper grilled chicken breasts which are pre-marinated and pre-cooked, this dish will be child’s play! Here are some simple steps to make the perfect chicken wellington.
To start, we will be cooking the mushroom filling which is essential in the wellingtons.
Heat up the olive oil, fry the yellow onions and white mushrooms together for about five minutes.
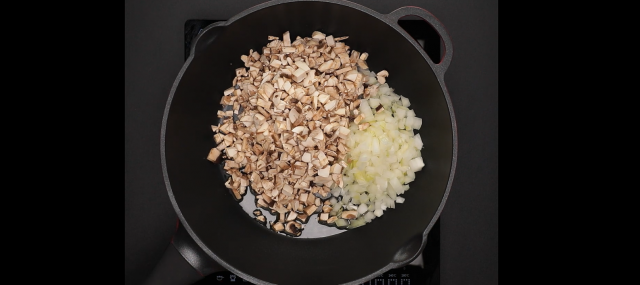
Fry the chopped yellow onions and mushroom together
Add in the chopped parsley and black pepper.
Now for the fun part! Assembling the chicken wellington –
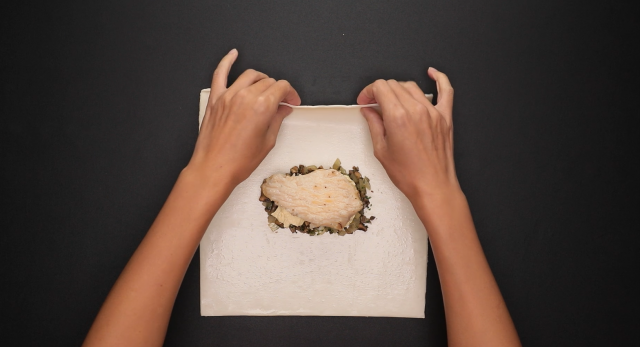
Lay the ready-rolled puff pastry on a flat table top, add two tablespoons of the sautéed mushroom filling that were prepared earlier on, and top this up with some combined Dijon mustard and cream cheese mixture.
Layer the mushroom, dijon mustard cream cheese and chicken on the puff pastry#Tip: Ready-made puff pastry are usually best handled after 5 minutes of thawing at room temperature. You can start spreading the fillings and placing the chicken while it is thawing. But wait until the dough is pliable enough to wrap. If the puff pastry is too cold, it may crack, if it is too warm, it will become sticky and difficult to manipulate.
Place a piece of re-heated Sadia’s pepper grilled chicken breast onto the mushroom and cream cheese.
The great thing about these chicken pieces is that they are already pre-marinated so they are very flavourful.
Seal the deal by folding down the top, bottom, then sides of the pastry until the fillings are nicely wrapped up.
Use a knife to create some slits on the pastry for a nice pattern.
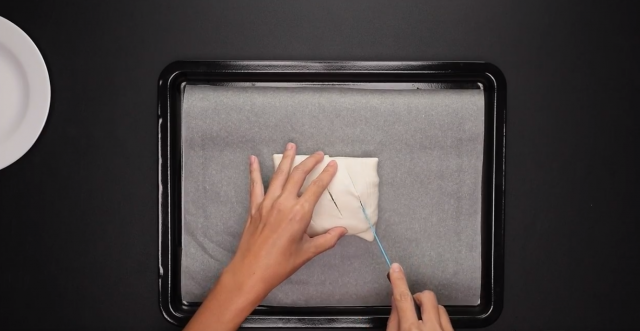
Lightly score some lines on the pastry
Brush a layer of egg wash for a nice golden-brown finishing.
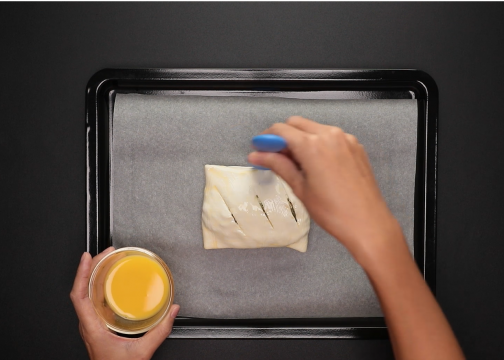
Egg wash to give the wellington a nice, golden brown finishing
The last step is to bake the chicken wellington pieces in the oven for 20 minutes at 200°C.

Bake in the oven for 20 minutes at 200°C.
These recipes are easily achievable with Sadia’s fully-cooked chicken and they taste extremely flavourful on their own too! Truly, easy never tasted this good! It’s time to get into the kitchen and start cooking!
Grilled Pepper Chicken Salad
Servings2 people
Prep Time5 minutes
Cook Time15 minutes
Ingredients
2pcs Sadia pepper grilled chicken breast
italian mesclun salad
2 hard-boiled eggswedges
6 cherry tomatoes
carrot slices
Miso vinaigrette
1 1/2tsp white miso
3/4tsp honey
2tbsp white rice vinegar
2tbsp olive oil
1tbsp mirin
1/8tsp salt
1/8tsp pepper
Garnish
white sesame seedstoasted
edible flowers
Instructions
Reheat the chicken
Reheat the chicken in oven for 15 minutes at 200°C.
Prepare the miso vinaigrette
Combine miso vinaigrette ingredients and whisk well. Leave covered in refrigerate until ready to use.
Assemble the salad
Remove chicken breasts from oven and slice when slightly cooled.
Place sliced chicken breast on a bed of salad and serve with miso vinaigrette.
Garnish with white sesame seeds and edible flowers.
Chicken Croquette
Servings8 pieces
Prep Time15 minutes
Cook Time40 minutes
Ingredients
2pcs Sadia pepper grilled chicken breast
400g russet potatoescut into small pieces
1/2 large yellow onionchopped
1tbsp olive oil
Seasoning
1/8tsp salt
1/8tsp pepper
Coating
cornflouras desired
1 large eggbeaten
pankoas desired
Instructions
Reheat the chicken
Reheat the chicken in oven for 15 minutes at 200°C.
Prepare the croquette filling
Boil the potatoes for 15 minutes, till soft. Drain the potatoes and mash up using a fork.
Dice the chicken into small cubes.
Heat a frying pan, add olive oil and fry onion until soften. Set aside.
Place sautéed onions, mashed potatoes, diced chicken and seasoning into a bowl and mix well.
Assemble the croquettes
Shape the potato mixture into oval patties of 85g. Chill for about an hour.
Prepare coating ingredients.
Coat each patty in cornflour, egg, followed by panko.
Fry and serve the croquettes
Shallow fry the patties in hot oil until golden brown.
Serve with your favourite dipping sauce.
Chicken Wellington
CuisineWestern
Servings3 wellingtons
Prep Time20 minutes
Cook Time50 minutes
Ingredients
3pcs Sadia pepper grilled chicken breast
2tbsp olive oil
1/2 large yellow onionchopped
200g white mushroomschopped
2tbsp parsleychopped
pepperto taste
3pcs ready-rolled puff pastry
dijon mustard cream cheese120g cream cheese mixed with 1 tbsp dijon mustard
1 eggbeaten
Instructions
Reheat the chicken
Reheat the chicken in oven for 15 minutes at 200°C.
Cook the mushroom filling
Heat a frying pan, add olive oil, onion and mushrooms. Fry for about 5-8 minutes until mushroom mixture is reduced to a dry paste.
Add in parsley and sprinkle pepper to taste. Dish up and set aside.
Assemble the chicken wellington
Thaw 1 puff pastry at room temperature for about 5 minutes #Tip: it's easier to fold and shape using semi-thawed pastry.
Spread 2 tbsp of sautéed mushrooms over the center of the pastry.
Spread 2 tbsp of dijon mustard cream cheese over the mushrooms.
Place the chicken breast on top of the cream cheese.
Fold the top of the pastry down over the chicken. Fold the bottom of the pastry over. Fold in the left and right sides of the pastry in.
Gently flip the wellington over and place on a parchment paper-lined baking tray.
Score some diagonal lines on the top of the pastry, to create a nice design and allow steam to escape.
Brush a layer of egg wash over the wellington.
Repeat the steps for the rest of the chicken breasts.
Bake the chicken wellington
Bake chicken wellington in preheated oven at 200°C for 20 minutes.
Remove chicken wellington from oven once done and cool on an oven rack before serving.
The post Sadia Pepper Grilled Chicken Breast appeared first on Share Food Singapore.

