
Most people cook these foods all WRONG
Tricks of the trade
Tetiana_Didenko/Shutterstock
From soufflés to perfect poached eggs, certain dishes have a reputation for being tricky to master – but what if they weren’t actually difficult at all, it's just that most people simply cook them wrong. Here we reveal the mistakes that are often made when cooking these supposedly challenging dishes and show you how to make them the right way.
Read on to discover the foods that you’ve probably been cooking wrong all this time.
Beef Wellington
Anton Chernov/Shutterstock
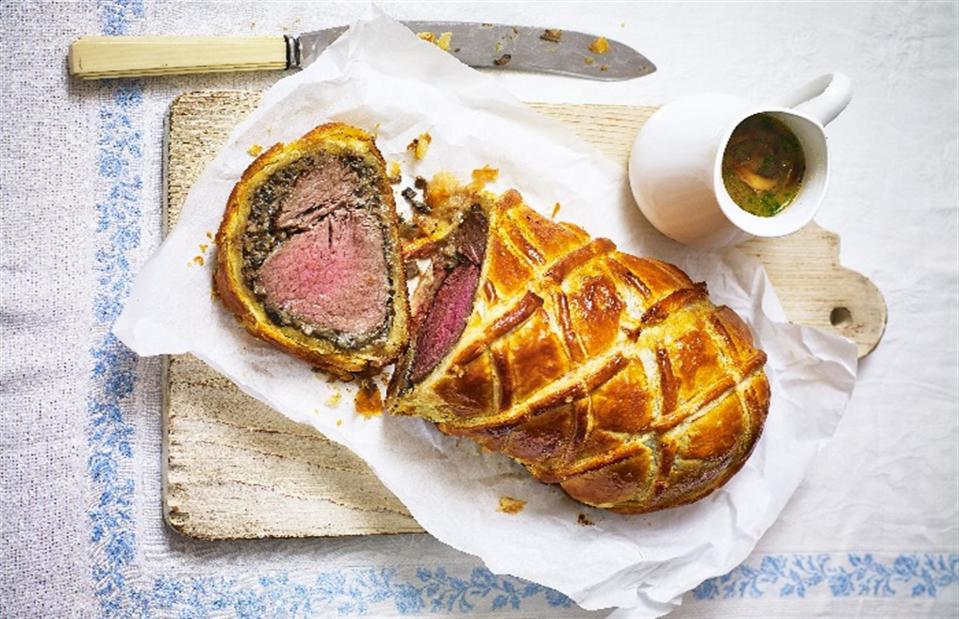
The ultimate dinner party centrepiece, beef Wellington is a prime fillet of beef covered with pâté or finely chopped mushrooms and baked in flaky puff pastry. Not only does the dish look and taste spectacular, it’s surprisingly simple to prepare and can be made ahead of time. That doesn’t mean it’s entirely danger-proof though; using shop-bought puff pasty is absolutely fine here (advisable even), but make sure you seek out good quality, all-butter puff, otherwise, it’s likely to turn soggy.
Beef Wellington
Mary Berry's Complete Cookbook/DK
For best results, sear your beef briefly over a high heat until browned all over. After that, season, set aside and leave to cool completely before wrapping – otherwise, you risk warming the pastry up and causing the dish to become greasy when cooked. It's also advisable to chill the assembled Wellington in the fridge before cooking, to ensure the butter in the pastry is cold. For a Wellington with a gleaming, golden-brown exterior, brush the pastry all over with egg wash and sprinkle with sea salt. Lastly, when it comes to serving, leave the Wellington to rest for at least 10 minutes before slicing using a serrated knife and a sawing motion.
Caramel
New Africa/Shutterstock
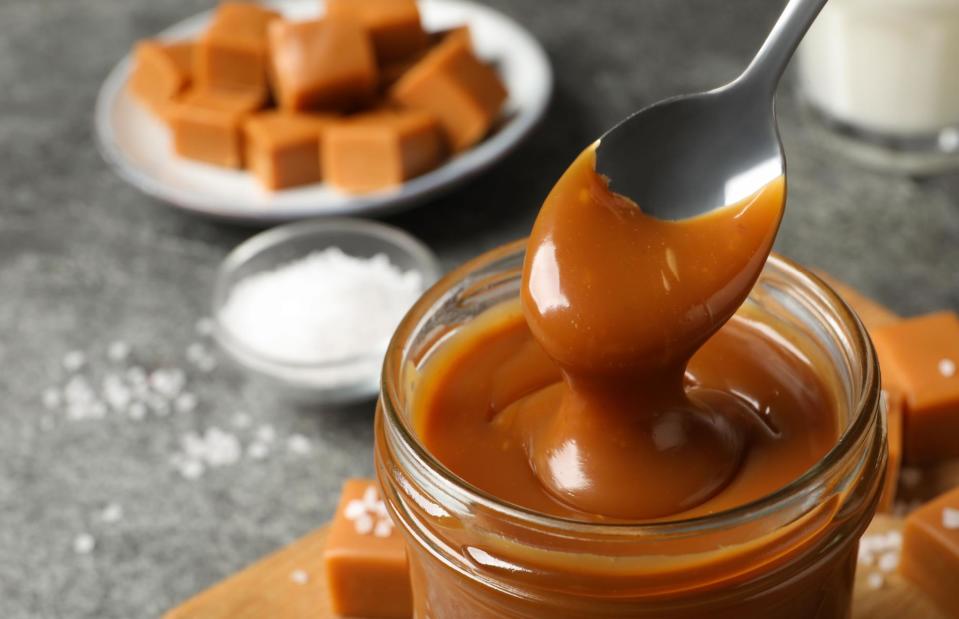
Incredible drizzled over ice cream, cakes, bakes and pies and the perfect dip for doughnuts, homemade caramel sauce has myriad delicious uses and is a technique well worth mastering. One of the most common mistakes when making caramel is using the wrong pan – you need a solid, heavy-based saucepan or frying pan, otherwise, the edges of the pan will get too hot too quickly. Next up, make sure your sugar is spread out in a single layer so that it cooks evenly and without clumping.
Caramel
Cesarz/Shutterstock
Once you’ve added your sugar, allow it to melt – without stirring – until deep golden brown. Don’t be tempted to attempt to do anything else at this point – all your focus should be on the caramel, which can turn from a beautiful golden brown to burnt in seconds. Once the desired colour and texture is achieved, carefully add your butter and cream, remove from the heat and leave to cool.
Choux pastry
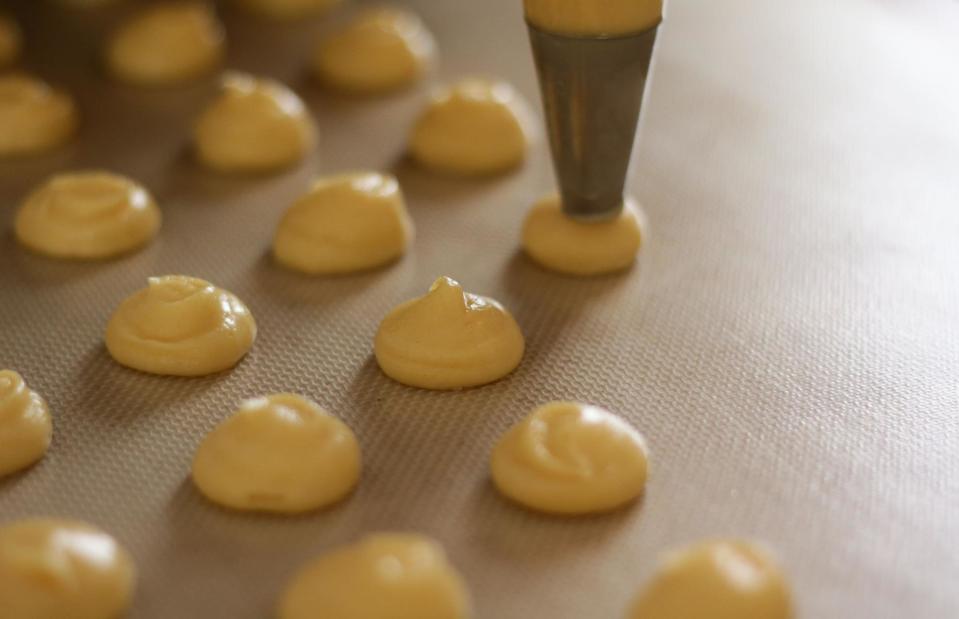
Neta Livne/Shutterstock
Whether we’re talking pillowy profiteroles or light-as-air éclairs, there’s something about choux pastry that just feels intimidating. But here’s what the chefs don’t tell you: once you know the basics, choux is actually one of the easiest types of pastry to make. If you’ve tried to make profiteroles or the like before and the pastries have failed to rise, it could well be because you haven’t removed enough of the liquid – once you add the dry ingredients to the liquid ones, stir vigorously until you have a smooth paste, then return the pan to the heat and continue beating until you're left with a dough that comes away from the sides of the pan.
Choux pastry

WS-Studio/Shutterstock
Another common issue when making choux pastry is the mix curdling. The easy way to avoid this is to allow the mixture to cool before gradually adding your eggs. Once piped or shaped, chill the pastry in the fridge for 30 minutes to help it hold its shape during cooking. When it comes to baking, add the buns to an oven preheated to 200°C/180°C fan/400°F/gas mark 6 and bake for 10 minutes, then reduce the temperature to 170°C/150°C fan/325°F/gas mark 3 and cook for a further seven to 10 minutes, until crisp, golden and risen. Remove from the oven and immediately prick a hole in the base of each bun to let steam out, then leave to cool on a baking tray, cut side up.
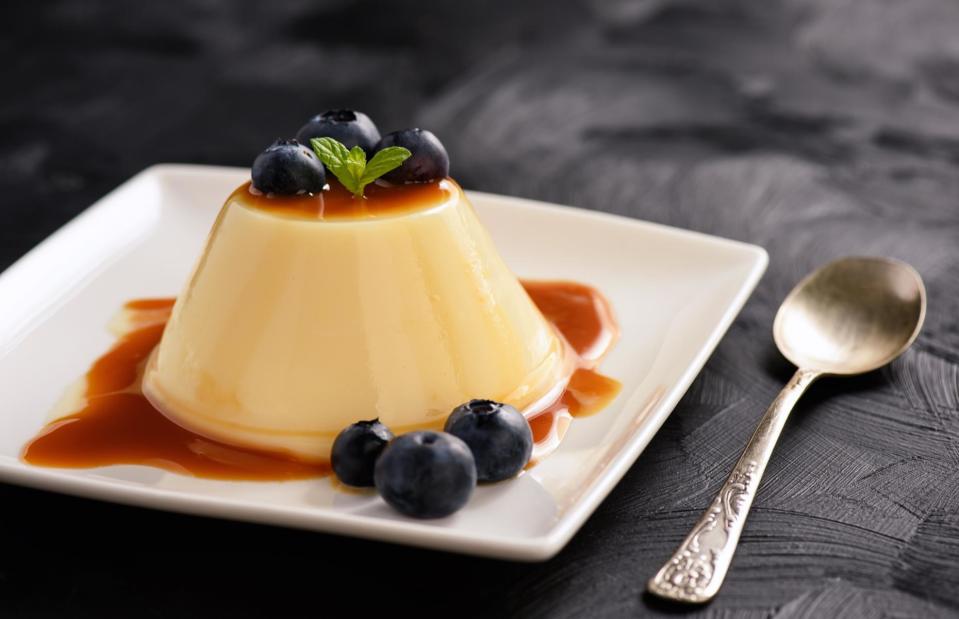
Crème brûlée
Duncan Andison/Shutterstock
This classic, classy French dessert is basically a rich yet delicate vanilla custard finished with a crisp layer of caramelised sugar. And while it might look and sound elegant, there’s nothing stopping you from achieving crème brûlée perfection at home. If in the past your custard has turned out grainy, it’s more than likely that the proteins in the egg overheated – to prevent this from happening, bake your brûlées in a cold water bain marie in a low oven.
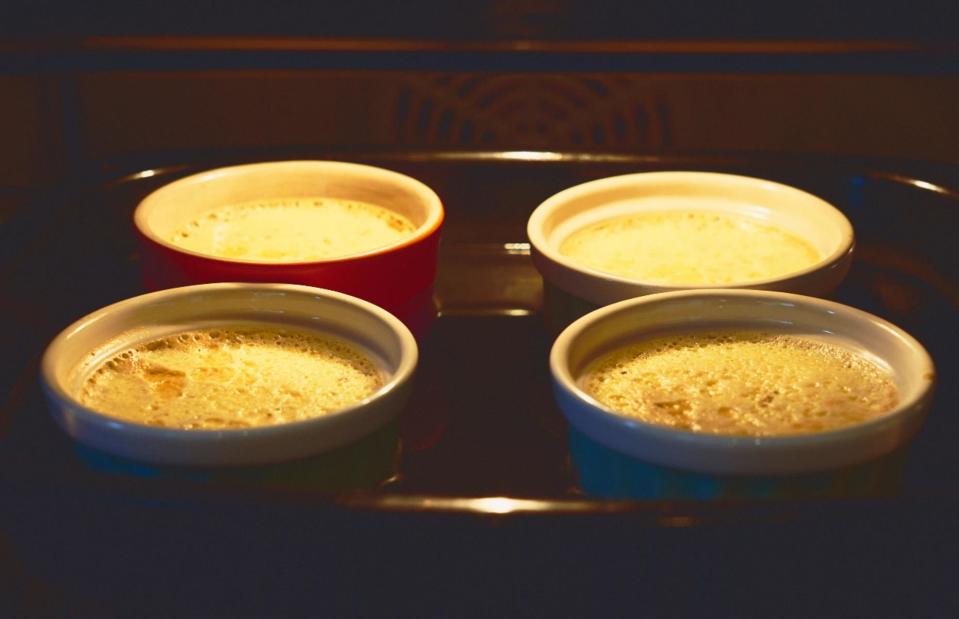
Crème brûlée

pic0000/Shutterstock
The sign of a truly triumphant crème brûlée is, of course, the crunchy, golden, caramelised layer that provides such a fabulous contrast to the cool, creamy custard beneath. A cook’s blowtorch really is a must here – it’s nigh on impossible to achieve an even caramel with a domestic grill.
Crêpes
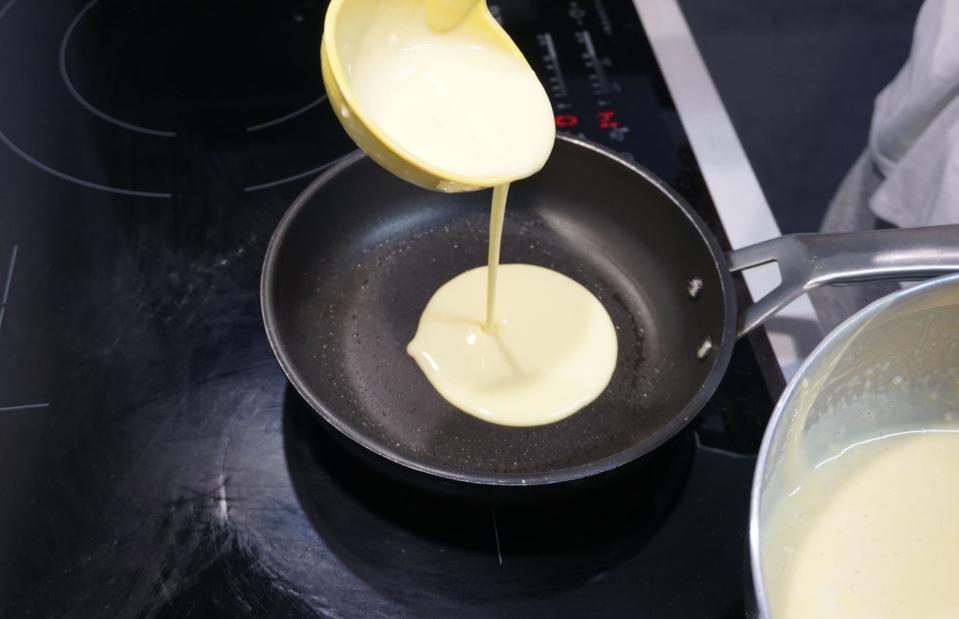
FOTOADICTA/Shutterstock
While many of us might think nothing of whipping up a batch of English-style pancakes or a stack of thick and fluffy American ones, making crêpes somehow feels like more of an ordeal – and yet it really shouldn’t. These lacey, thin French treats are a cinch to make, provided you’ve got the right equipment: a non-stick pan is something of a non-negotiable and a palette knife really helps when it comes to turning the crêpes over.
Crêpes
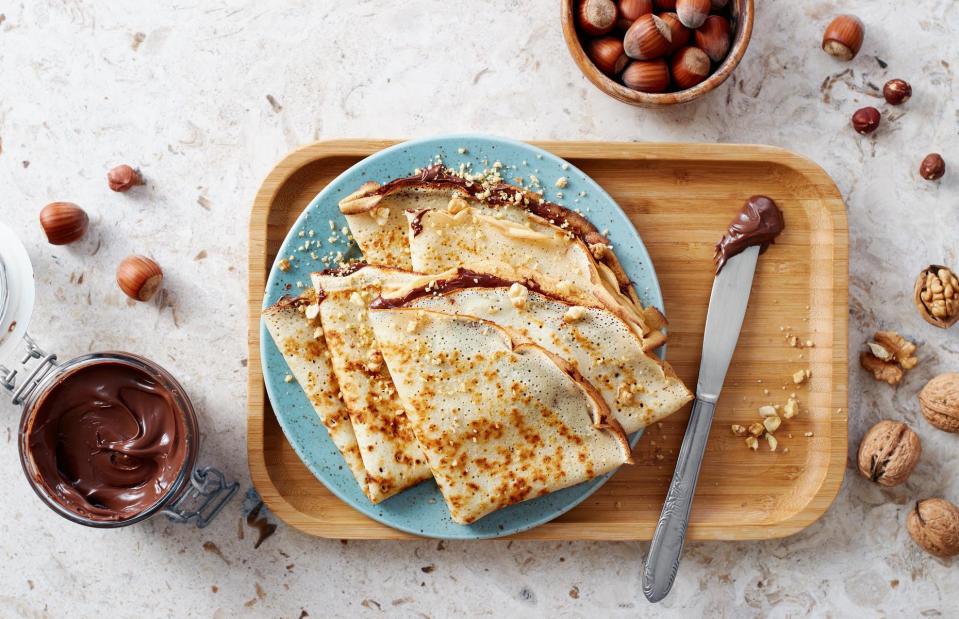
Melica/Shutterstock
If you struggle to spread your batter out in the pan and your crêpes always tend to end up on the leaden side, it’s because the batter itself is too thick – it should be the consistency of single, rather than double, cream. When making sweet crêpes, add a little sugar to the batter, as well as a pinch of salt to bring out the flavour. Cook in a hot pan lightly brushed with butter – the batter should sizzle as it hits the pan. It’s up to you whether you flip or turn your crêpes by hand, but either way, it’s time to do so when you can see the edges turning brown.
Focaccia
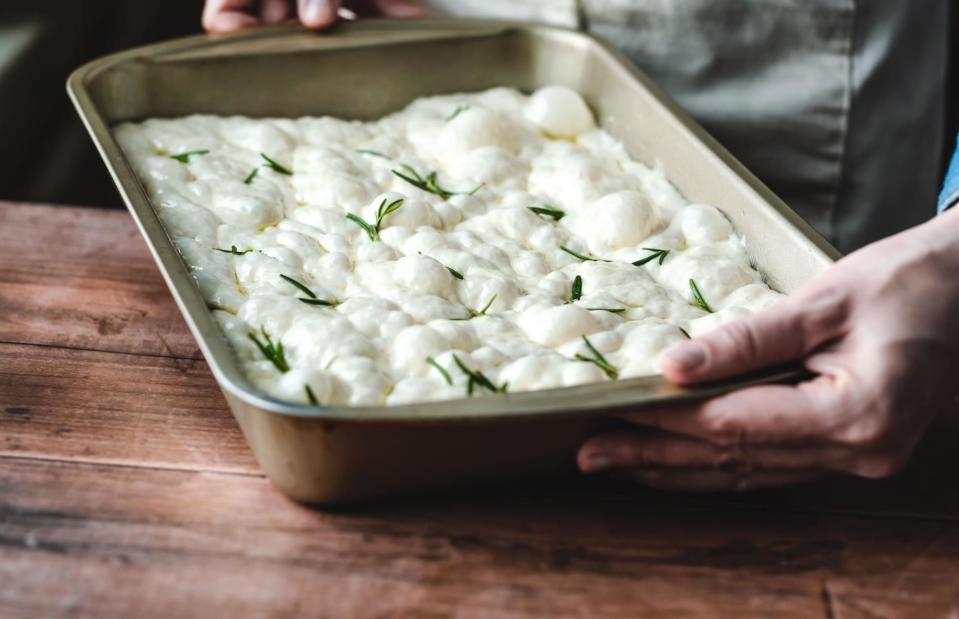
HalynaRom/Shutterstock
This traditional olive oil–drenched Italian bread is always a winner, but people tend to worry that the trademark rich, chewy texture and crisp outer crust will be difficult to replicate at home. Quite the contrary; provided you follow a few simple steps you can produce the sort of focaccia that would make an Italian nonna proud. Key to achieving a light, spongy texture is not being afraid to add plenty of water (remember, this dough should be a wet one) and refraining from adding too much flour, which will make the cooked bread dense and dry.
Focaccia
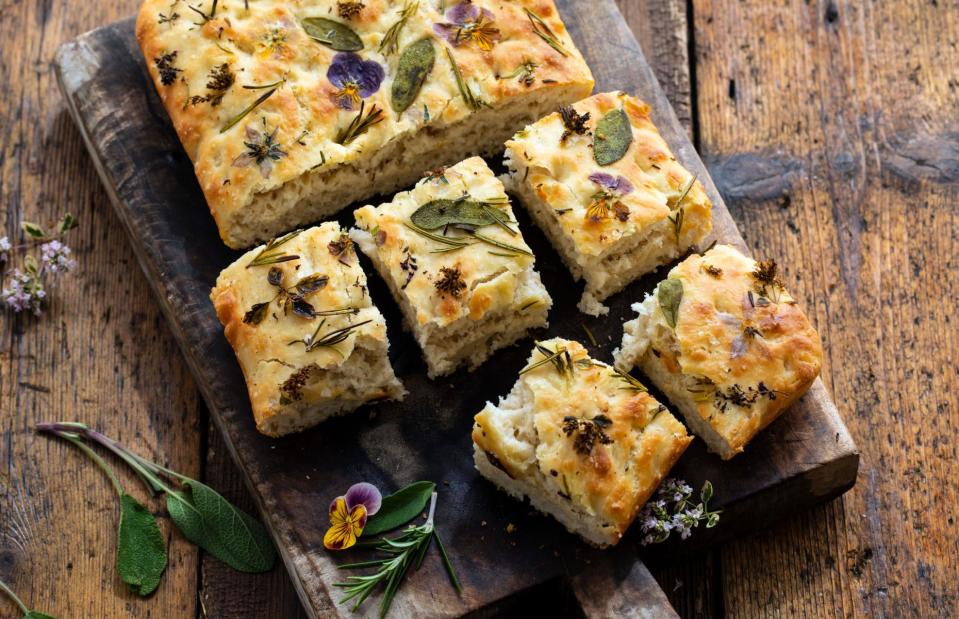
Magdanatka/Shutterstock
Make sure you give your dough plenty of time to rise; if you don’t leave it to prove for long enough, those signature air pockets won’t develop. When it comes to cooking, sprinkle generously with flaky sea salt and bake your focaccia in a really hot oven on a hot pizza stone or baking tray – this will allow the bread to develop to a pleasingly crisp base. Bake until golden on top and enjoy warm from the oven, if possible.
Gravy
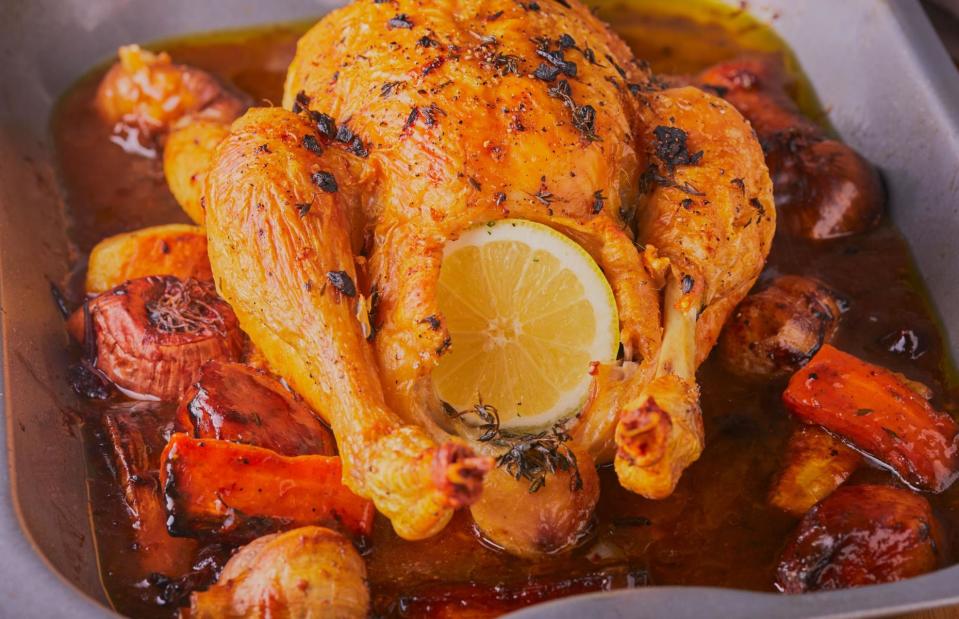
mark beevers/Shutterstock
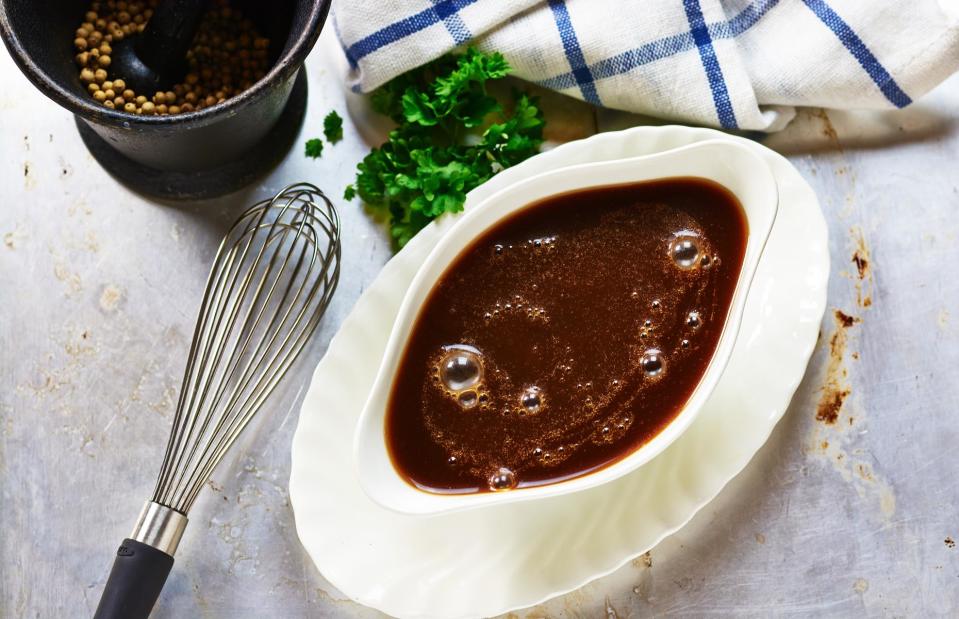
You'll never resort to a packet of gravy granules again once you make proper homemade gravy (the method remains the same, whether the gravy is for beef, lamb, turkey or chicken). The first step is getting rid of the excess fat from the roasting tin – doing so prevents the gravy from looking and tasting oily. Spoon off the fat into a bowl, leaving a tablespoon or so behind, along with the meat juices. To ensure your gravy has plenty of flavour, use a spoon to scrape up the crusty bits from the base of the tin, then stir in the flour and cook out.
Gravy
jmattisson/Shutterstock
For smooth, full-flavoured gravy, add hot stock to the pan a little at a time, whisking well after each addition. If it seems too thin, leave to bubble and reduce a little; if it’s too thick, add more liquid. Do remember to tase your gravy for seasoning, adding salt and pepper as needed. Then simply pour into a warm jug and serve.
Hollandaise
Arina P Habich/Shutterstock
Rich, unctuous and utterly delicious, it doesn’t get much better than a dish of bright green, seasonal asparagus or oozy poached eggs trickled with perfectly golden hollandaise. And while many shy away from making it for fear of ending up with a curdled mass more akin to scrambled eggs, if you take your time, the classic French sauce can be prepared with ease. The secret lies in heating your eggs just the right amount – you want the yolks to coagulate, without separating.
Hollandaise

valkyrielynn/Shutterstock
While techniques for making hollandaise vary, in our experience, the easiest approach is to cook your eggs and butter in a bain marie, therefore keeping the eggs away from direct heat. Simmer the mix over very low heat until the butter melts, then increase the heat slightly and cook, whisking constantly, until thickened. Season and stir in a little lemon juice. Once you’ve made your hollandaise, it’s best not to let it cool before serving, so keep warm over low heat or store in a vacuum flask.
Macarons

Olga Dubravina/Shutterstock
The price of shop-bought macarons can be staggering, and they have a reputation for being tricky to make, but with a little time and patience (and a few tips) you can produce majestic-looking macarons at home. First up, pick your moment and don’t even attempt to try to whip up these little beauties on a hot day – the humidity in the air will cause them to collapse. It’s hugely important to weigh your ingredients out precisely, sift the mixture to incorporate plenty of air, and add the sugar to the egg whites slowly.
Macarons

Artem Oleshko/Shutterstock
For pretty-as-a-picture macarons with a soft, chewy centre and a crisp-yet-delicate exterior, leaving your piped macarons to rest in the fridge for 30 minutes or so before baking will make all the difference. And if you want to achieve the silkiest, smoothest end result of all, it’s worth giving your ground almonds a quick blitz in a blender before adding to the mix. Lastly, select your filling carefully: a slightly tart fruit cream works well with fruit-flavoured macarons, while a bitter chocolate ganache is just the thing for coffee, chocolate or vanilla versions.
Mayonnaise
New Africa/Shutterstock
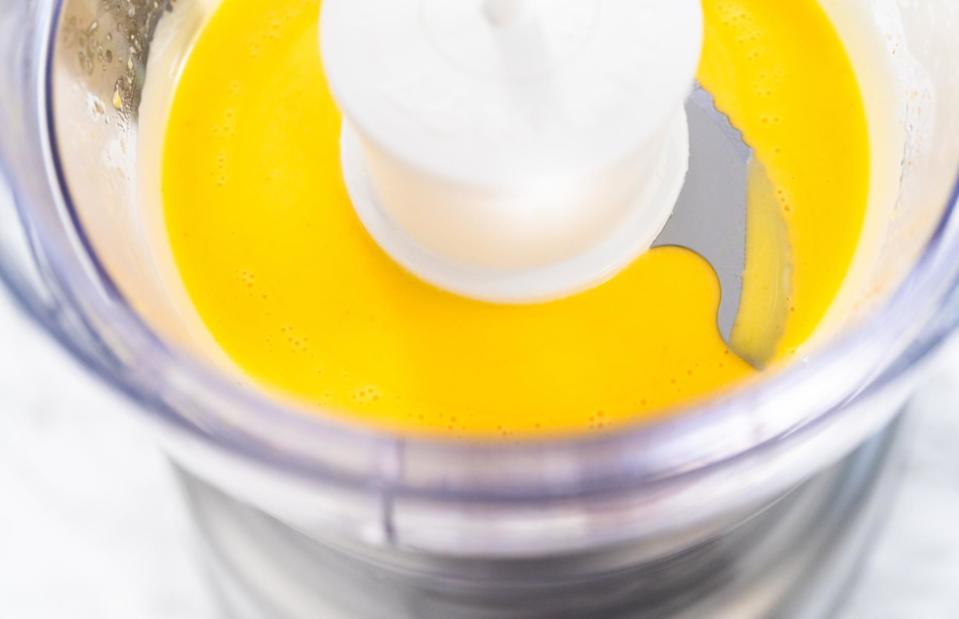
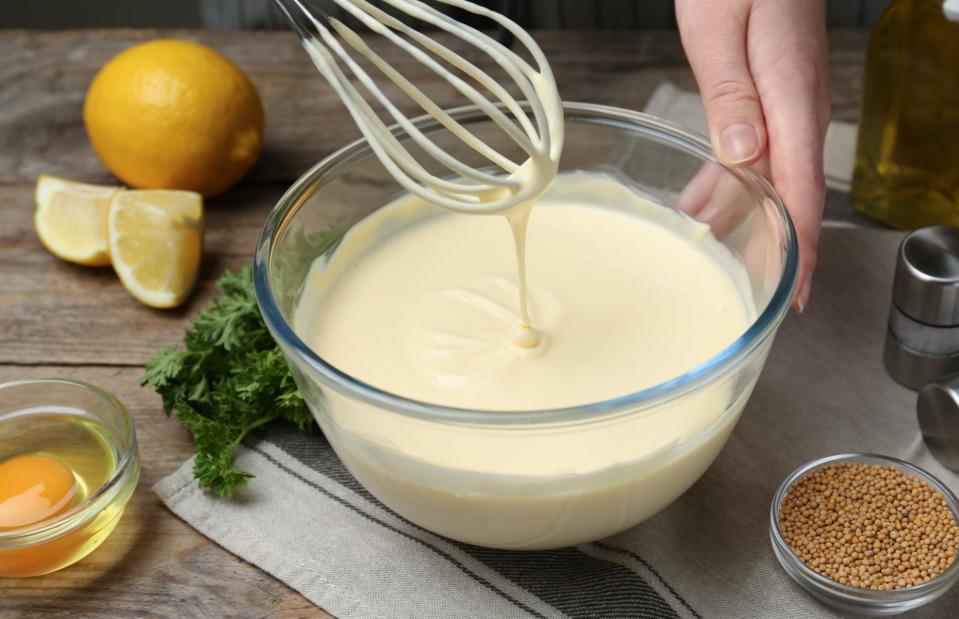
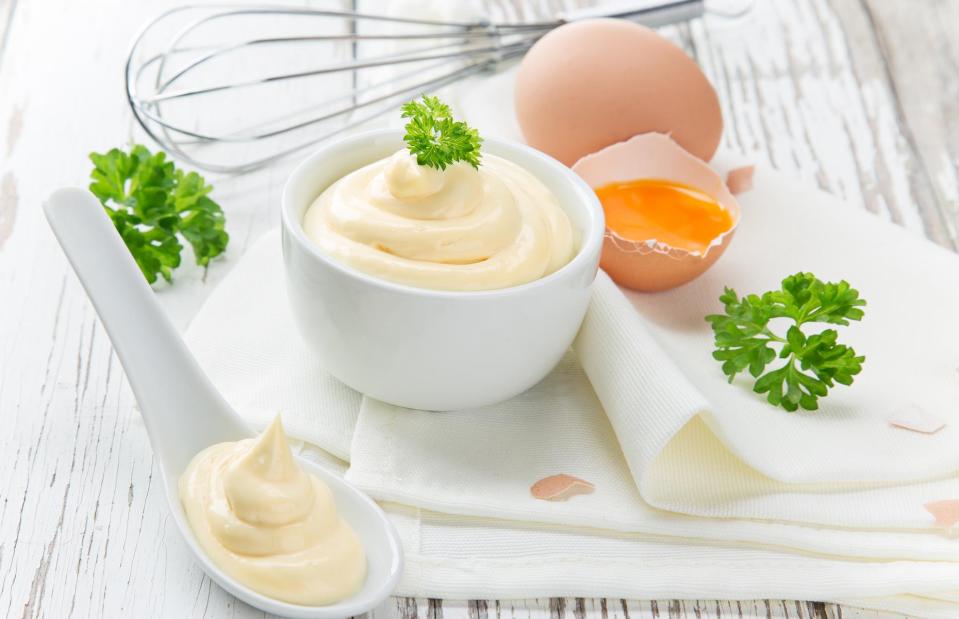
Once you’ve mastered the art of making mayonnaise from scratch you won’t look back. The most common issue people encounter when making mayonnaise is the mix splitting – this happens when the oil is added to the egg yolks too quickly. If you add the oil a drop at a time to begin with, whisking constantly and increasing the speed at which you add the oil to a steady stream once it starts to thicken, you’ll be well on the way to mayo-making success.
Mayonnaise
Lukas Godja/Shutterstock
For a failsafe basic recipe, beat two egg yolks in a clean, dry bowl with a pinch of salt, a teaspoon of Dijon mustard and a tablespoon of white wine vinegar. Slowly add around 10fl oz (300ml) olive oil or a mix of olive oil and vegetable or rapeseed oil, whisking constantly until thickened. Season to taste, adding a squeeze of lemon juice and a handful of chopped herbs or a little crushed garlic if you like.
Meringue
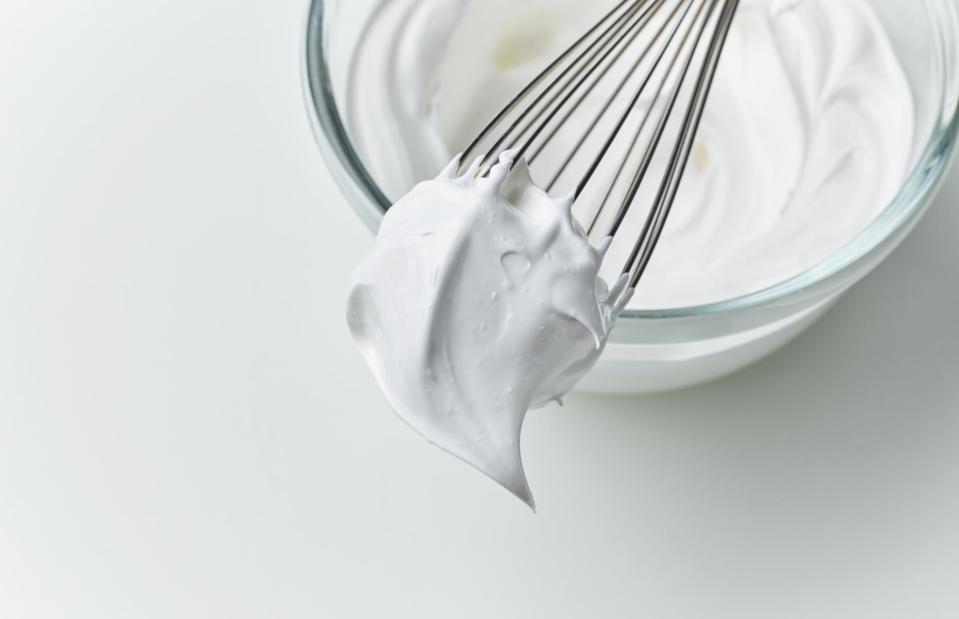
MaraZe/Shutterstock
While a beautiful, billowing pavlova meringue filled with whipped cream and fruit might seem too tricky a dish for the average home cook to attempt, this dessert is actually much easier to make than you might think – provided you follow a few rules. If you’ve struggled to whip your egg and sugar mix to foamy peaks in the past, it could well be because your equipment wasn’t clean enough, so make sure both bowl and whisk are scrupulously clean and bone dry. It’s also well worth considering adding a little stabiliser – vinegar, lemon juice or cream of tartar – to the mixture after the sugar, to help it hold its shape and prevent weeping.
Meringue
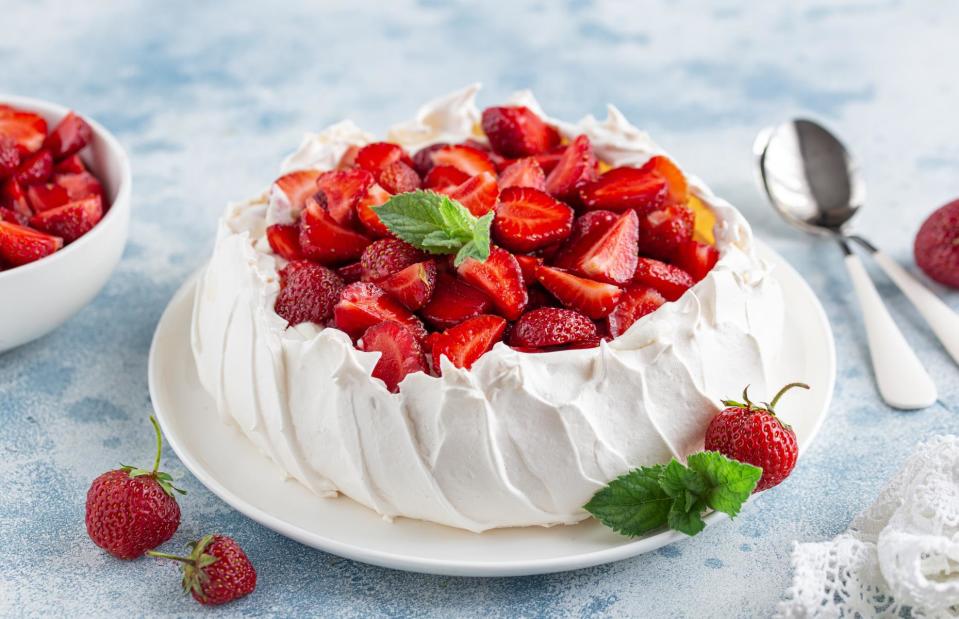
Anna Shepulova/Shutterstock
When it comes to adding the sugar, do so gradually and only after the whites have been whipped to soft peaks, otherwise you won’t be able to achieve a stable foam. Once you’ve made your meringues, the temperature of your oven is key – if you’ve ever ended up with meringues with an orange hue, it’s because they were cooked at too high a temperature. Cook your meringues on the lowest setting possible, until they are crisp on the outside and sound hollow when tapped. This could take as long as six hours, but be patient – the result will be well worth it.
Pasta
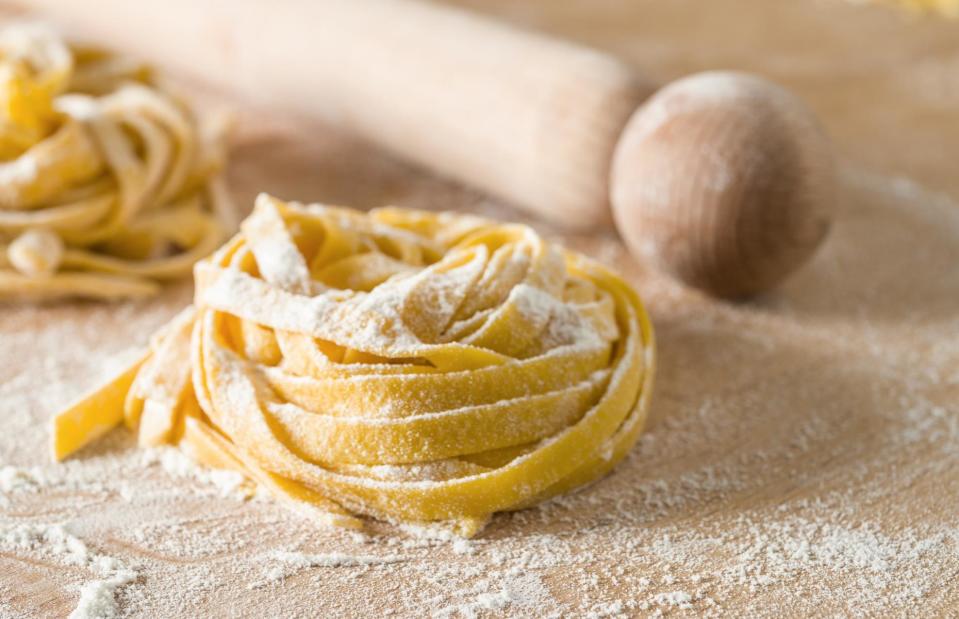
Alessio Cola/Shutterstock
Homemade pasta is an absolute treat, both to make and eat. And while it might seem like the preserve of seasoned cooks, provided you’ve got the right ingredients and equipment you can be whipping up silky-smooth noodles, ravioli and tortellini in no time. While you certainly can roll out your pasta dough with a rolling pin, a pasta machine will make things much easier and is well worth investing in if you’re going to make pasta from scratch regularly.
Pasta

Goskova Tatiana/Shutterstock
If you’ve made fresh pasta before and ended up with flabby, soft strands of spaghetti, rather than springy al dente ones, it’s more than likely that you didn’t knead your dough for long enough – keep pushing and pulling until you have a smooth, silky ball. Cover with cling film and leave to rest in the fridge for at least 30 minutes, to allow the gluten to relax and the dough to become elastic and smooth. Once your pasta has been rolled, sliced or shaped, cook in boiling salted water until al dente.
Poached eggs
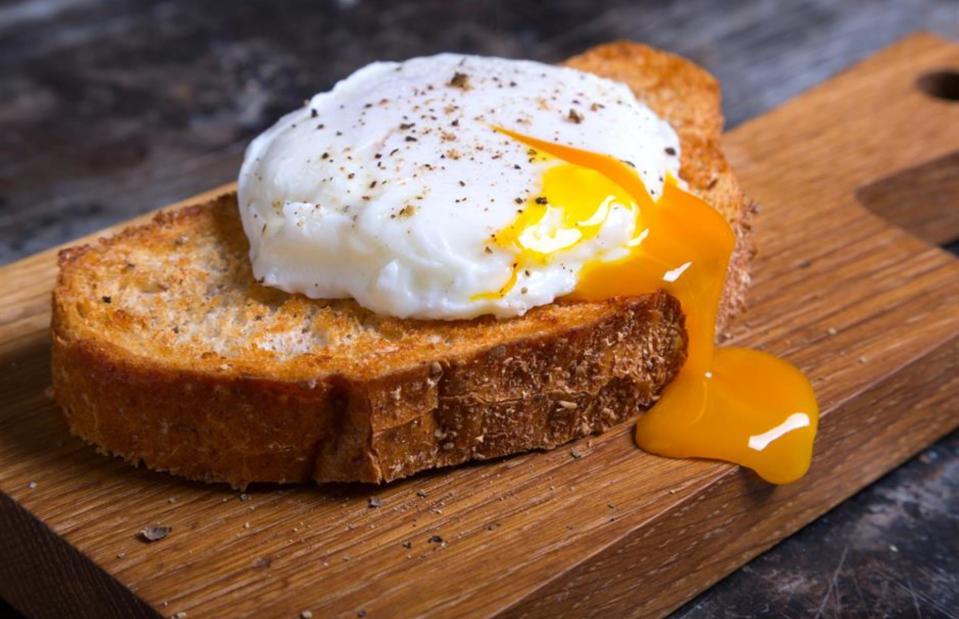
Suteren Studio/Shutterstock
Even the most accomplished cooks will admit to feeling nervous when poaching eggs. Yet if you’re prepared to follow a few simple processes, you can produce poached eggs with firm whites and runny yolks in minutes. The first step towards doing so is to abandon any ideas about using an egg poacher – they tend to make the eggs steam and toughen up. Instead, seek out eggs that are as fresh as possible, fill a large, deep saucepan or frying pan with water, add a tablespoon of white wine vinegar and make sure you’ve got a slotted spoon to hand.
Poached eggs

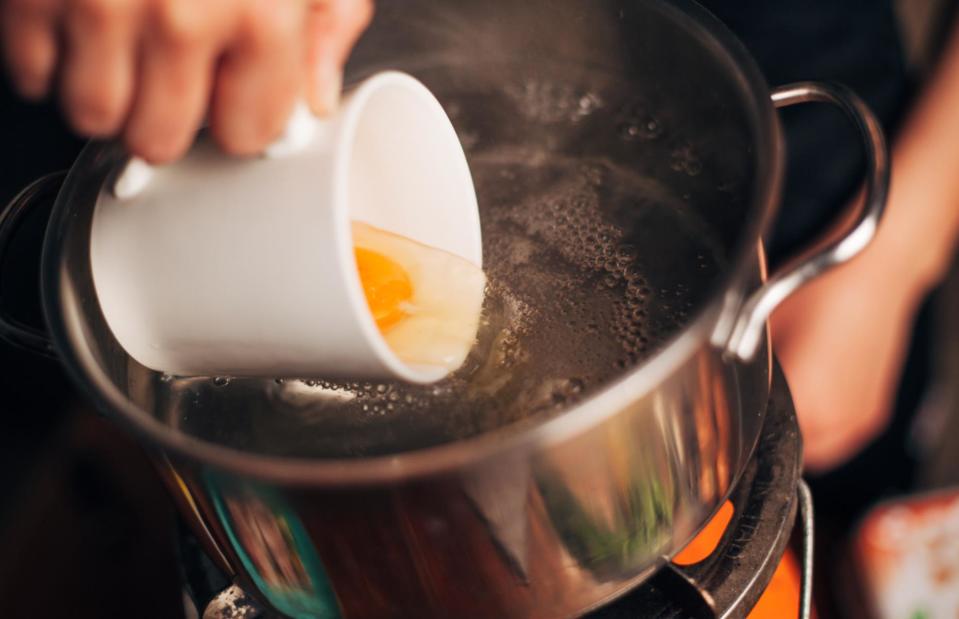
Tetiana_Didenko/Shutterstock
Once your water comes to a boil, reduce the heat to a simmer. Crack an egg into a small bowl or dish (if you really want to ensure you don’t end up with any wispy white bits, crack into a sieve or strainer and allow the runnier white to drain off). Stir the water to create a vortex (this helps the white to wrap neatly around the yolk), slide your egg into the water and check the heat is low enough – you should just be able to see small bubbles forming. Cook for three to four minutes, or until the white is cooked through, then remove from the pan with a slotted spoon and drain on kitchen paper.
Risotto
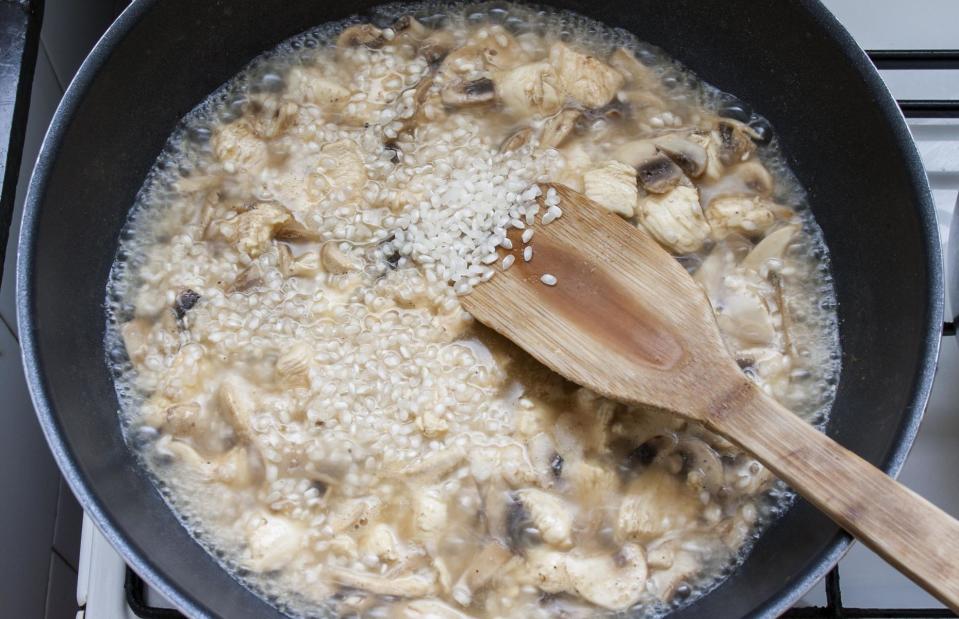
webarma/Shutterstock
There’s no getting away from it – a great risotto requires time, patience and the right type of rice (arborio, carnaroli or vialone nano are your best options), but isn’t actually a particularly difficult dish to make. One of the most common mistakes with risotto is not toasting the rice – skipping or rushing this step makes it difficult to achieve a risotto with real depth of flavour (that said, you don’t want the rice to brown too much, otherwise it will impact the flavour of the finished dish).
Risotto
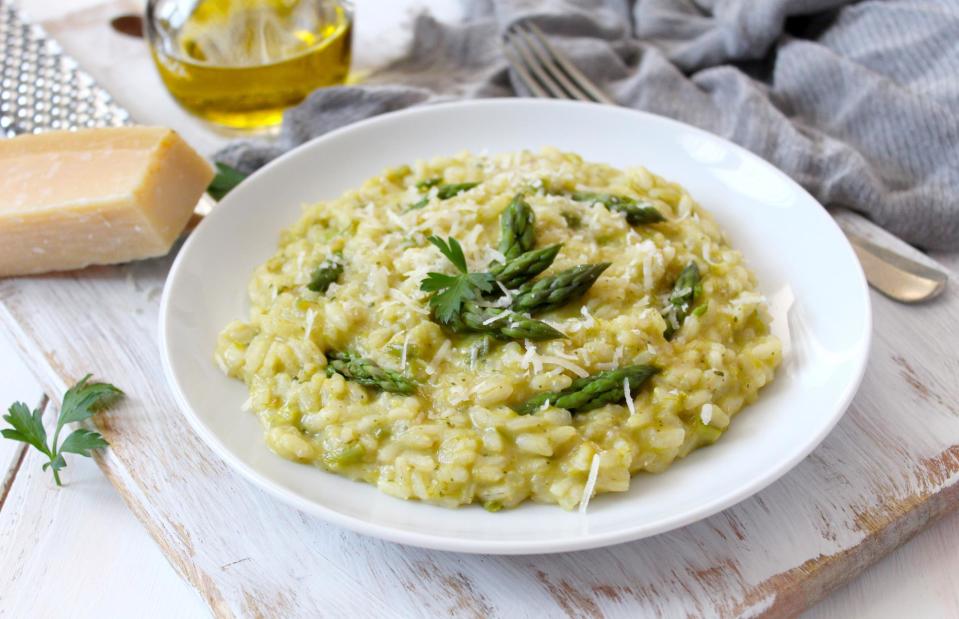
Ale02/Shutterstock
Hot stock is also essential here, as is adding it to the pan gradually and while constantly stirring – this helps the grains of rice to expand. The beating in of the butter and cheese (known as mantcatura) is another easy yet important step – be generous with both ingredients (and your seasoning) and cook until the risotto is rich and creamy and the rice still has a slight bite to it. For best results, don’t hang around and serve immediately.
Soufflés
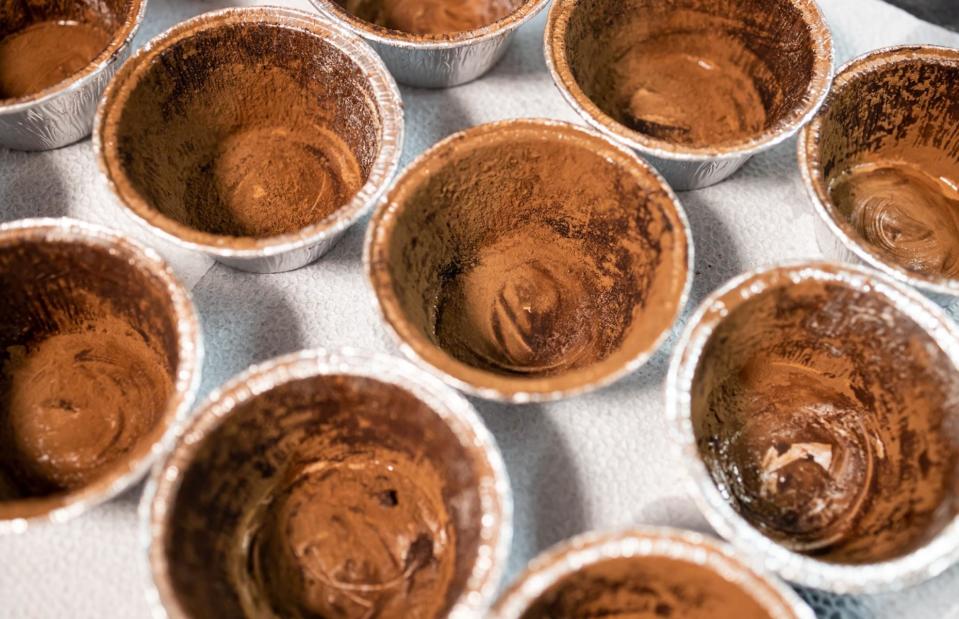
Harry kim/Shutterstock
A dish that strikes fear into the hearts of even the most seasoned cooks, soufflés have a fearsome reputation and yet we’re here to tell you that there’s nothing to be scared of. Provided you prep ahead (weigh all your ingredients carefully, assemble your equipment, and get the oven nice and hot), you can whip up tall, quivering soufflés with minimum fuss. Key to doing so is a lightness of touch – when you fold your whipped egg whites into the mix, do so very gently, to prevent the air from being knocked out.
Soufflés

Raimunda-losantos/Shutterstock
Always use room-temperature eggs when making soufflés – if your eggs are chilly, you won’t be able to whip them to billowy perfection. For fluffy, airy soufflés that rise to the occasion, take the time to line your ramekins or dishes carefully – brush vertically up the sides with melted butter and coat the inside of the dish with a dry ingredient (think cocoa powder or icing sugar for sweet soufflés and grated cheese for savoury ones). Bake until the top is golden and firm to the touch and the soufflés themselves have a slight wobble to them.
Steak
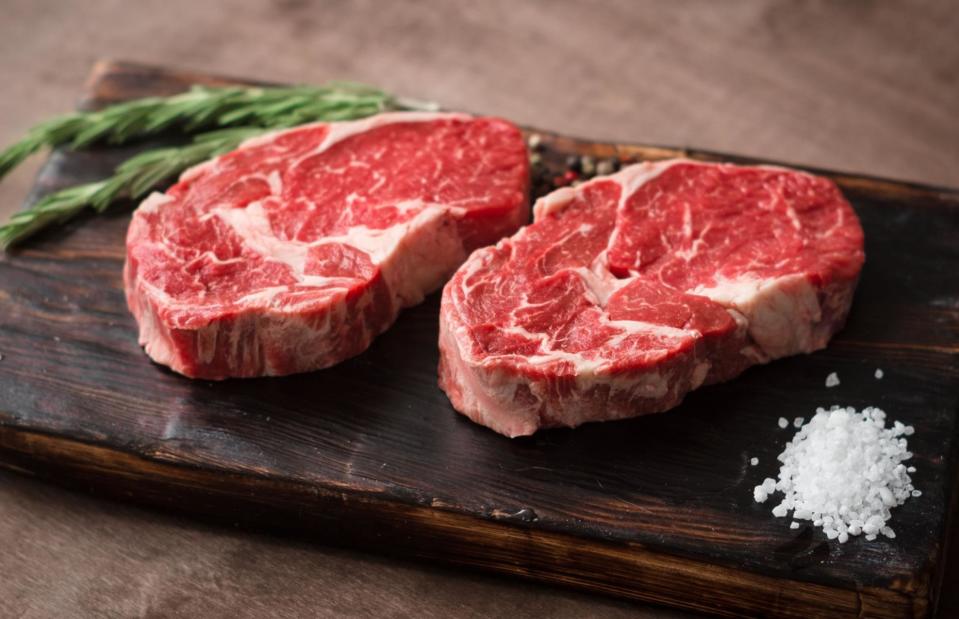
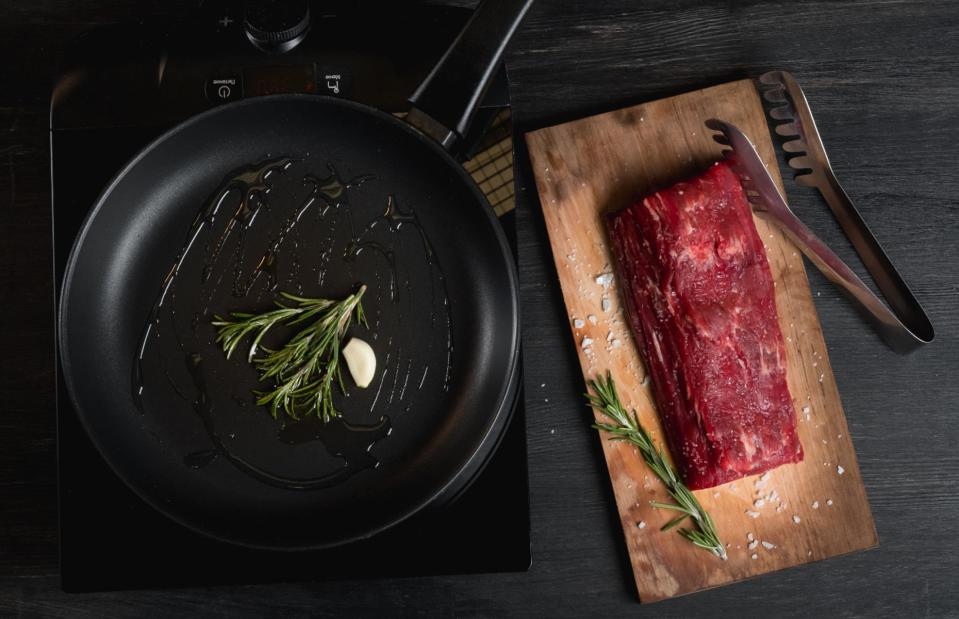
Andrei Iakhniuk/Shutterstock
Tucking into a tasty steak shouldn’t be an experience reserved for restaurants – it’s entirely possible to cook a perfect steak at home. It almost goes without saying but buying the highest quality meat you can afford will have a huge impact. So too will ensuring that your steak is at room temperature before you start cooking – if you’ve ever ended up with an unevenly cooked steak, the likelihood is that it was too cold to begin with. Remove the meat from the fridge at least an hour before cooking, seasoning generously with salt with 10 minutes to go – doing so will ensure that the meat develops a lovely crisp, savoury outer layer when seared in a hot pan.
Steak
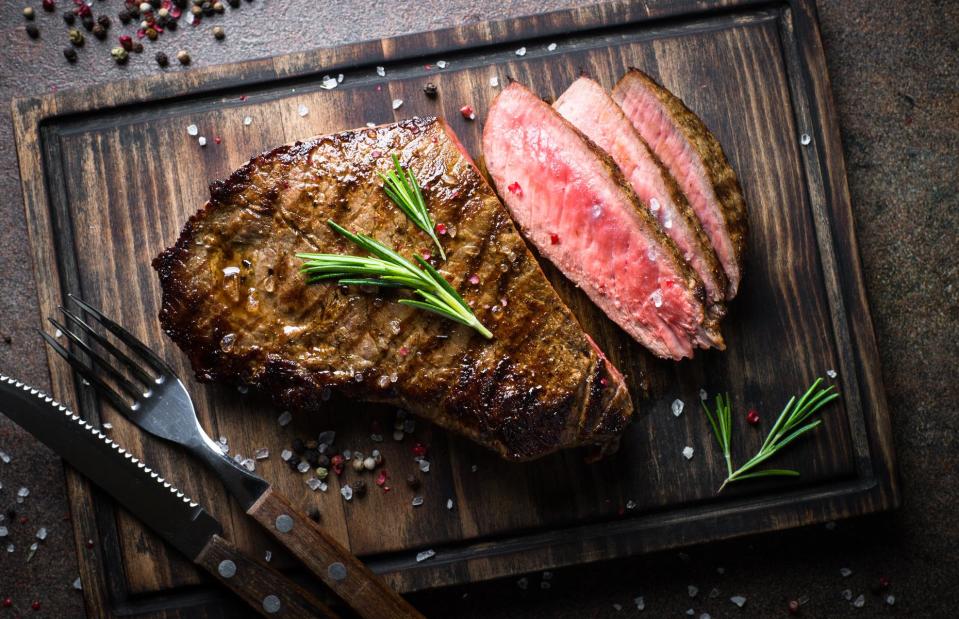
nadianb/Shutterstock
If you like your steak with a charred outside and a juicy, tender centre, selecting a chunky cut is essential, otherwise the meat will overcook before you’re able to achieve a good level of caramelisation on the outer edge. Once cooked, leaving your steak to rest in a warm place for at least five minutes (a thicker steak will benefit from being left for 10 minutes) to allow all the juices to be reabsorbed is crucial – if you skip this step, the meat will taste dry and tough regardless.
Yorkshire puddings
progressman/Shutterstock
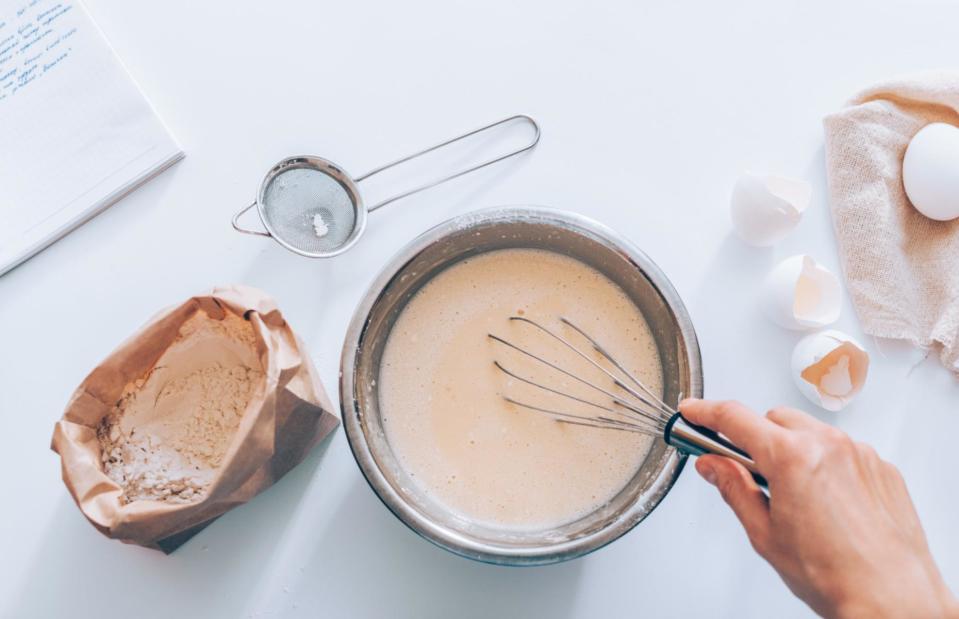
Whether your Yorkshires have a tendency to rise and fall (or never rise at all), are lacking in golden colour or always end up on the soggy side, we’re here to help you fix all that. To begin with, you want your Yorkie batter to be lump-free, so whisk vigorously by hand or use an electric hand whisk to combine the flour, eggs and milk. To make enough batter for 12 Yorkshires, beat 3.5oz (100g) plain flour, 3fl oz (100ml milk), two large eggs and a pinch of salt and pepper in a bowl or jug until smooth and light.
Yorkshire puddings
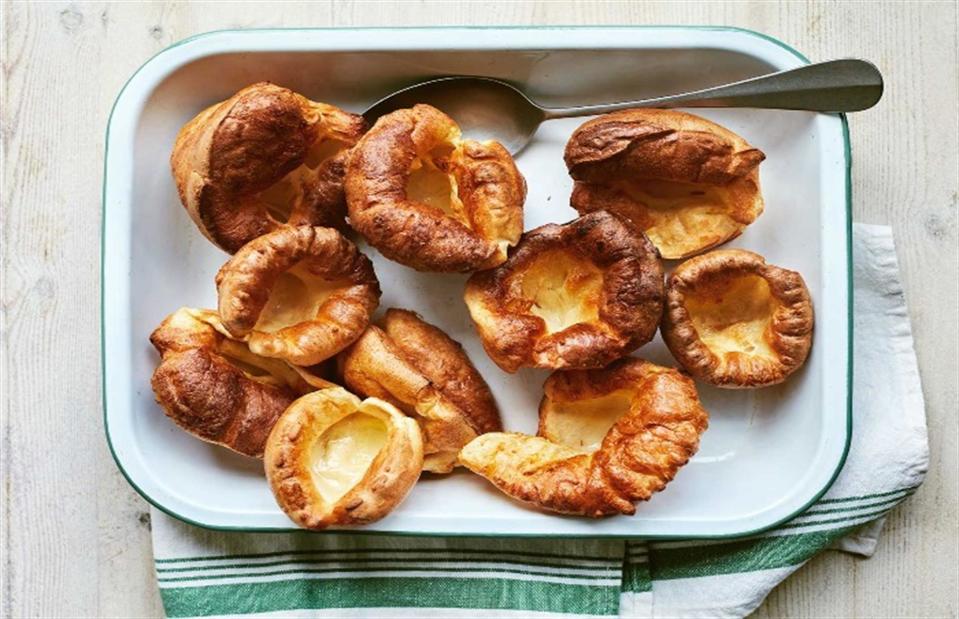
Laura Edwards/BBC Books
Once made, the batter really benefits from being left to rest – leave in the fridge overnight and you’ll notice the difference the next day. Both a hot oven and hot fat are essential in order to achieve towering Yorkshires. Crank the oven up to its highest setting and heat the tray with oil in it until sizzling. Carefully pour the batter in, filling the holes equally, then return to the oven and don’t be tempted to open the door until the timer goes off.
Now discover these no-recipe recipes that taste fantastic
Last updated by Emily Shardlow-Price.

