
The Easiest Way to Grout Tile
[table-of-contents] stripped
In the realm of home renovation DIY projects, learning how to grout tile doesn't exactly sound easy. You might think you lack the geometry and grout-mixing skills to do it. We don't blame you! It's natural to feel intimated by a project that will have an obvious visual impact on your kitchen, bathroom, or laundry room. The good news? It's easier to grout tiles than you think, especially when you have our help. We called on a professional to get the tips you need to absolutely nail your tile project.
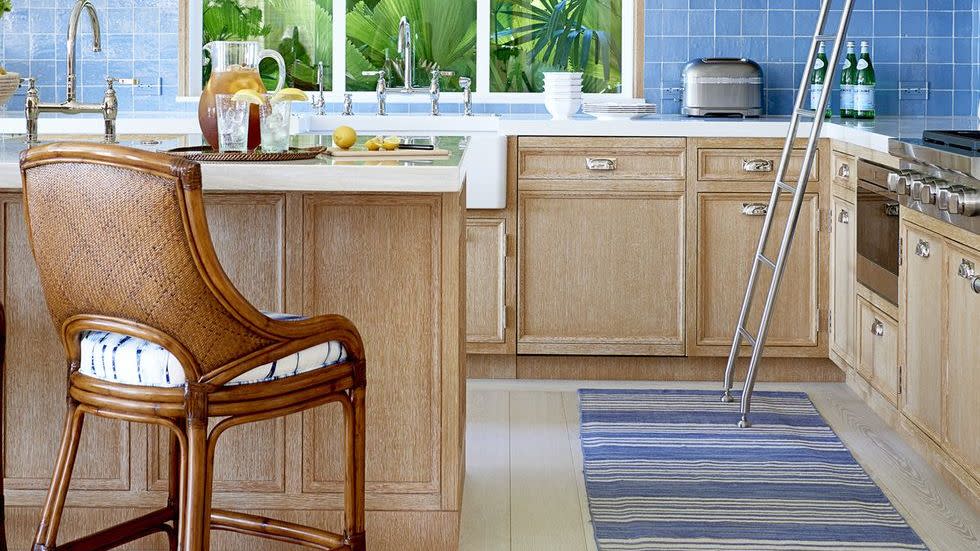
Once you've laid your tiles and are happy with the design, you're ready for the next step: grouting. This should typically happen within 48 hours of your tile installation. You can choose any color grout you like (there's a broad palette), but Lee Thornley, founder of the tile company Bert and May, suggests skipping the traditional white. "A dark grout…adds texture, depth, and intrigue, even as it fades and develops," he says. "It also hides a multitude of sins, so not only does it look sophisticated but it's extremely practical."
We're laying out all the easy-to-follow steps below, including the materials you'll need and how to troubleshoot any mistakes you make. More of a visual learner? Watch the video above from interior designer Whitney Jones, who has laid out all the steps in an easy-to-follow way. Or, better yet, do both to ensure you master the grouting process and get the prettiest tiled surface possible.

Tile Grout Basics
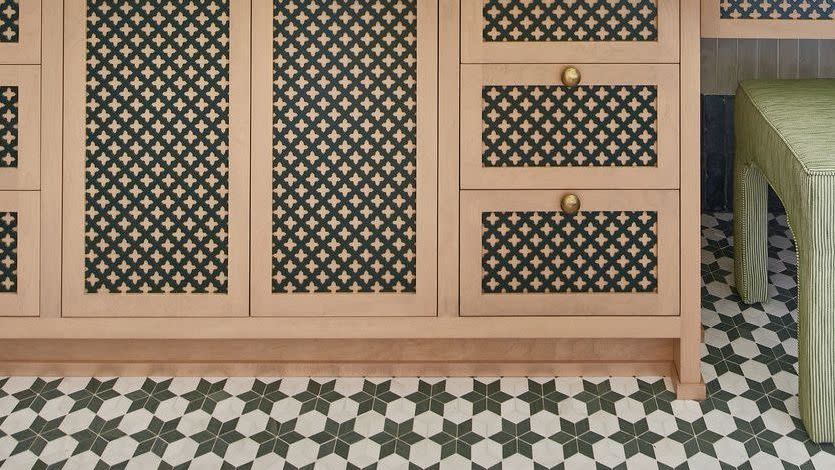
Grout is the mixture that goes in between the tiles, filling the gaps and adding a layer of security to keep everything in its place. For Thornley, grout is also a chance to be creative. "Choosing a colorful grout can elevate your bathroom design; it highlights particular colors in patterned tiles, creating an unexpected pop of fun," he says. "Or by using a contrasting color, it adds a layer of sophistication and depth."
Most tiling projects call for cement-based grout, which is the most common type of residential grout. Grout also comes in epoxy and urethane varieties, though those are typically only used in commercial or industrial projects. Cement grout comes both premixed and powdered. Premixed cement grout is sold in various-size tubs and is a convenient and easy choice for small-scale projects, while powdered grout needs to be mixed with water before use and is typically chosen for larger projects (like doing every bathroom in a home at one time). Additionally, tile grout can be found in both sanded and non-sanded varieties. A non-sanded grout is typically approved for use with tile joints up to 1/8-inch wide; sanded grout is the better option for anything wider than that, as it provides an added defense against cracks or shifting. Always check the installation instructions for your chosen tile before selecting a grout in case the manufacturer suggests a specific formulation.
Grout thickness depends entirely on the final look you want. "The trend for the past few years has been for slender grout gaps, emphasizing the beauty of the tile and keeping the bathroom streamlined and sleek," says Thornley. "However, more recently we've seen bathrooms where the grouting has been maximized, and this can be effective too, especially with more rustic tiles that need more support."
How to Grout Tile
Before starting your grout project, it's important to assemble the proper tools and materials. All of the below should be available at your local hardware store, but be sure to read the manufacturer's instructions for your chosen tile to see if they suggest using a certain brand or hue of grout for best results.
You'll need:
Painter's tape
Protective paper or plastic sheeting (as needed)
Grout (premixed or powdered)
2 to 3 small plastic buckets
Rubber grout float
Grout shaper (optional)
Grout sponge
3 to 4 clean cloths
Instructions:
Cover any countertops and the surrounding area with protective paper or plastic sheeting where necessary.
If using powdered grout, mix it up according to the manufacturer's instructions. You should always add the powder to the water instead of the other way around. Aim for a thick, creamy texture (a bit like toothpaste). Don't mix too much grout at once, or it may dry out before you can use it.
Using a rubber grout float, spread golf-ball-size lumps of grout over the tile surface in long, upward diagonal strokes. Hold the grout float at a 45-degree angle and work the grout deep into all the joints (which may necessitate going over them a few times). Work on an area of 10 square feet or smaller at a time to keep things fresh and manageable.
Let the grout sit for about 15 minutes, then use a damp (but not soaking wet—if water is running down the face of the tiles, your sponge is too wet!) grout sponge to wipe away excess grout on the face of the tiles. Keep a bucket of water nearby to rinse and squeeze out the sponge periodically so you're cleaning the surface of the tile as much as possible.
When the grout has hardened slightly, use a grout shaper or your finger to neaten up the joints, aiming for a flat depth and smoothing out any irregularities. If any gaps or holes appear, apply more grout with your fingertip. Sponge off any excess.
Allow the grout to dry for several hours, preferably overnight. Polish the tile with a clean, dry cloth, taking care to remove any film from the front of the tiles so they shine.
Apply a grout sealer, if needed, according to the manufacturer's instructions.
How to Replace Tile Grout
Tiles actually rarely wear out—in general, it's the grout that lets them down. If your grout is looking dingy, it can often be revived with a grout pen. However, if the grout is chipping, crumbling, or caving in, repairing the damage is often the best way to ensure your bathroom or kitchen continues to function (and look) good. Replacing grout can be an inexpensive way to freshen up the look of your bathroom or kitchen, but the project can vary in difficulty depending on the kind of tile you have. Smaller types, like penny tile, will be much more difficult to fix than traditional 4-by-4 squares.
You'll Need:
Old toothbrush
Mild dish soap
Vinegar (as needed)
Baking soda (as needed)
Mold and mildew remover (as needed)
Bleach (as needed)
Grout rake or removal tool
Vacuum cleaner with nozzle attachment
Supplies for grouting (see above)
Instructions:
Clean the worn area with the toothbrush and dish soap, paying extra attention to areas that may have mold or mildew. If the dirt is stubborn, try scrubbing gently with a paste of vinegar and baking soda; if there's mold, use a mold and mildew remover or a solution of one-part bleach to eight-parts water can remove it.
Starting at the top of a vertical joint, gently pull the grout removal tool or knife down the center of the grout line, working to remove the old grout to a depth of around 1/8 inch. (You need enough space for the new grout to take hold but don't want to go too deep.) Repeat along the horizontal lines. Be careful not to dislodge tiles and try not to slip and scratch the tile surface.
Use the narrow nozzle attachment on a vacuum cleaner to remove all dust and debris from the joints and surrounding area.
Apply grout as instructed above.
Follow House Beautiful on Instagram.
You Might Also Like

