
Don’t Grill Your Chicken Without Doing This First
This simple technique makes all the difference.
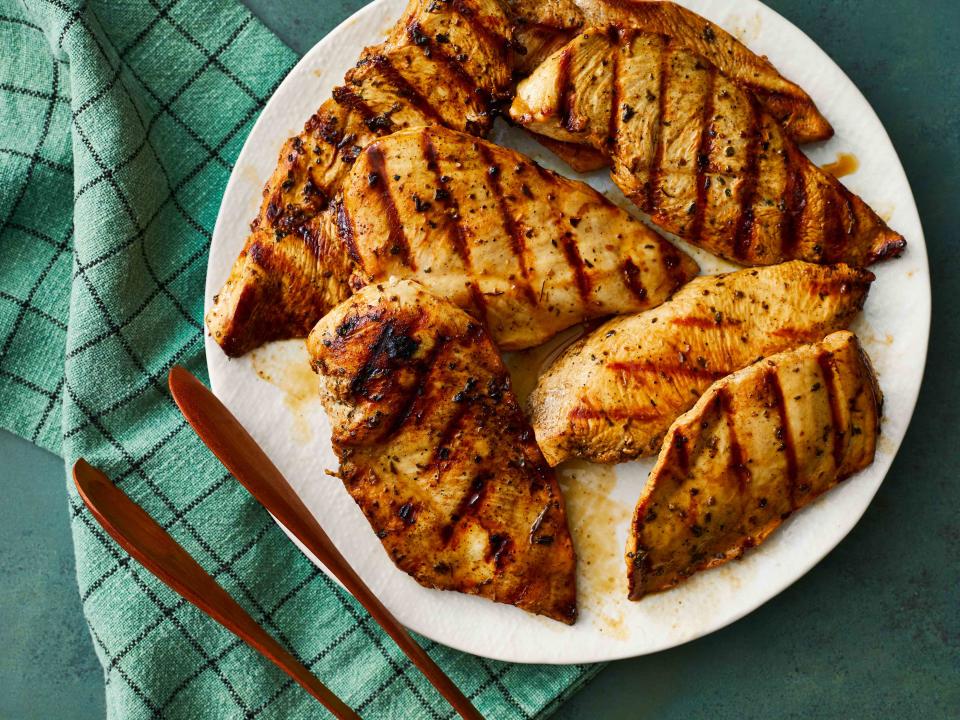
DOTDASH MEREDITH FOOD STUDIOS
If you’ve ever bitten into a piece of chicken that’s been marinating for hours only to find that it still lacks flavor–you’re not alone. We know that marinating infuses flavor into meat. However, one of the most significant differences between chicken with flavor throughout and lackluster poultry, whose flavor abruptly stops after the first bite, has to do with one main ingredient: salt.
But it goes beyond simply sprinkling enough salt on your chicken just before grilling it. To boost your chicken’s natural flavor and best taste, employ a cooking technique popular with professional chefs and home cooks–dry brining.
You may be familiar with wet brining, the technique of submerging meat into water seasoned generously with salt and additional aromatics. In contrast, dry brining doesn’t require liquid and won’t take up as much refrigerator space. The beauty of this technique is that you can use it in all your chicken recipes. Whether firing up the grill for wings or making a batch of sauce-covered thighs, this simple technique ensures the meat is full of flavor until the last bite.
How Does Dry Brining Work?
Dry brining boosts the flavor by allowing the moisture naturally present in chicken to interact with salt. According to Morton Salt, you should ideally use a coarse variety for brining. Coarse salt is easier to see and allows for a more evenly distributed layer when compared to fine-grain. As the salt rests on the chicken, it pulls water out of the meat, similar to how salting cucumber works, except the water gets reabsorbed rather than drained. Once moisture rises to the surface of the chicken, it mixes with the salt. Then, the meat slowly reabsorbs the concentrated salty solution. The result? A flavor that’s actually in the meat rather than only on the outside.
Dry brining is ideal for grilling chicken because it doesn’t introduce excessive moisture. It ensures the chicken skin remains dry so that it cooks up crispy. It also elevates the flavors of your preferred barbecue dry rub.

How to Dry Brine Chicken
To dry brine chicken, you won’t need any special tools. Everything you need is likely already in your kitchen.
Chicken: Choose your preferred cut, such as wings, breasts, thighs, or drumsticks. This technique works for boneless, bone-in, skinless, and skin-on chicken. Dry brining also works on whole and spatchcock chicken.
Salt: Coarse kosher or coarse sea salt works best. 1 tablespoon per 5 pounds of chicken is a good rule of thumb for dry brining, but those sensitive to salt may want to reduce the amount.
A vessel for brining: A 9x13-inch baking dish works well because it’s deep enough to safeguard your fridge from raw meat spills and can fit a small-sized chicken. If you’re dry brining wings or multiple pieces of chicken, ensure the pan is big enough for them to lay flat in a single layer. Rimmed baking sheets also work for this. Depending on the amount of chicken you’re cooking, you may need multiple pans.
Start by placing the chicken into the brining vessel. Pat the chicken with paper towels to remove excess moisture; it should be mainly dry to the touch. Sprinkle the salt across all sides using a sweeping motion, about six inches above the chicken. Place the pan of chicken into the refrigerator. You can cover it with plastic wrap or leave it uncovered. (For extra crispy skin, you’ll want to leave it uncovered so it dries out.) Then, let the salt work its magic for the next 12 to 24 hours. Smaller cuts of chicken do well in the lower time range, whereas a whole chicken benefits from the upper range.
When you’re ready to cook the chicken, don’t rinse or wipe off the salt. Season with your preferred salt-free rub, or choose a homemade blend, but omit any additional salt. Then, cook the chicken using your preferred method, grilled or otherwise. The result? Succulent, juicy chicken with crispy skin.
Read the original article on All Recipes.

