
How to do Display Color Calibration for best image representation on Windows 11
On Windows 11, when connecting a monitor, the system can automatically detect and determine the optimal configuration. However, since every monitor is different, it's up to you to use calibration tools to ensure that the photos, videos, and games render on the screen with the most accurate color representation.
You can find many third-party tools on the internet to calibrate your monitor. However, you can also use the tool that comes as part of the operating system that comes with basic features that help you control the brightness, contrast, and color levels of any display.
This how-to guide will walk you through the easy steps to calibrate your computer monitor on Windows 11.
How to calibrate display on Windows 11
To calibrate your computer's monitor on Windows 11, use these steps:
Open Start.
Search for Display Color Calibration and click the top result to open the app.
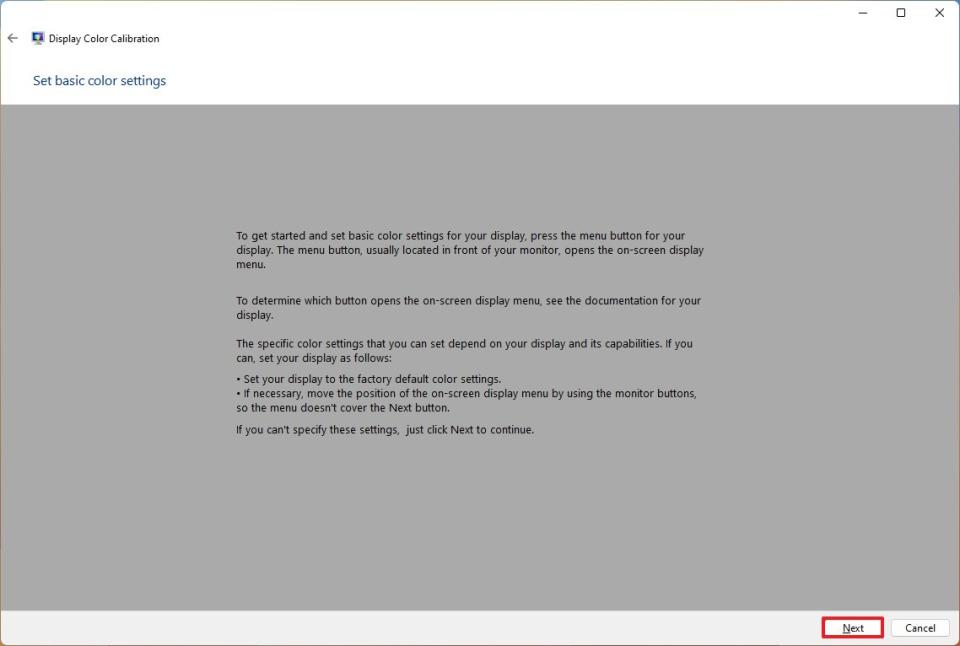
Click the Next button.
Quick note: It's recommended to access the display menu and set the device to the default color settings. If you have a custom configuration, remember to note those settings in the event you need to apply them back. If you don't know how to access the monitor's menu, check your manufacturer support website for more specific details.
Click the Next button again.
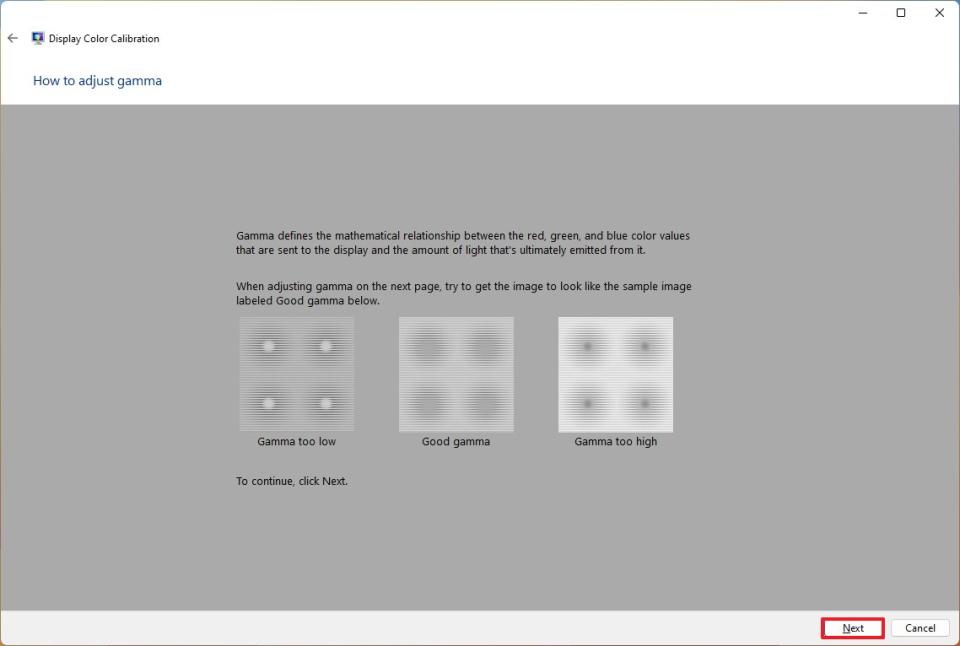
Click the Next button one more time to continue.
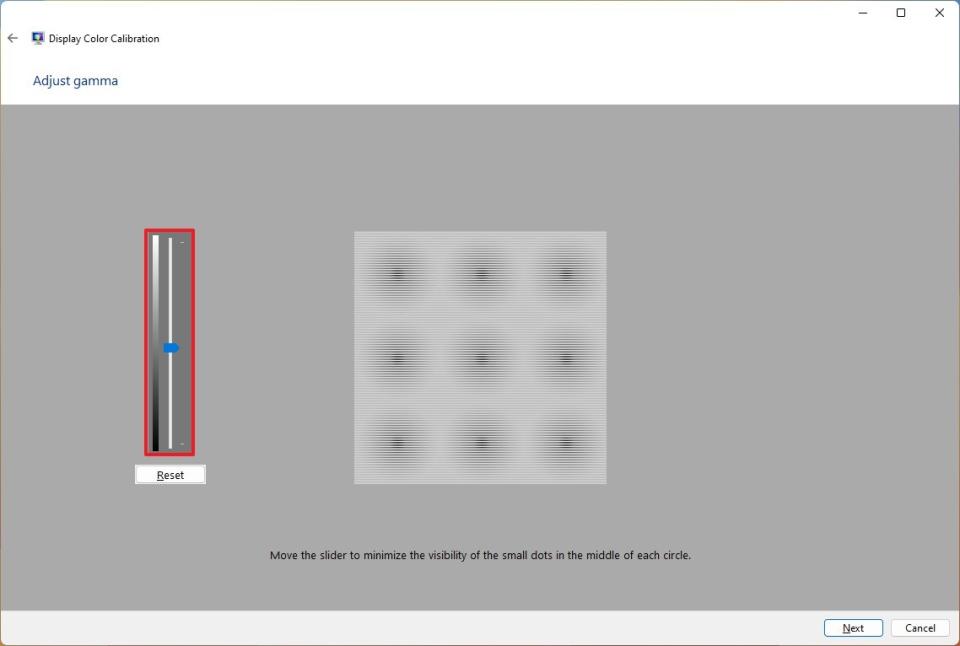
Change the gamma settings with the slider until the small dots are barely visible.
Click the Next button one more time to continue.
Change the gamma settings with the slider until the small dots are barely visible.
Click the Next button.
Click the Next button again.
Click the Next button one more time to continue.
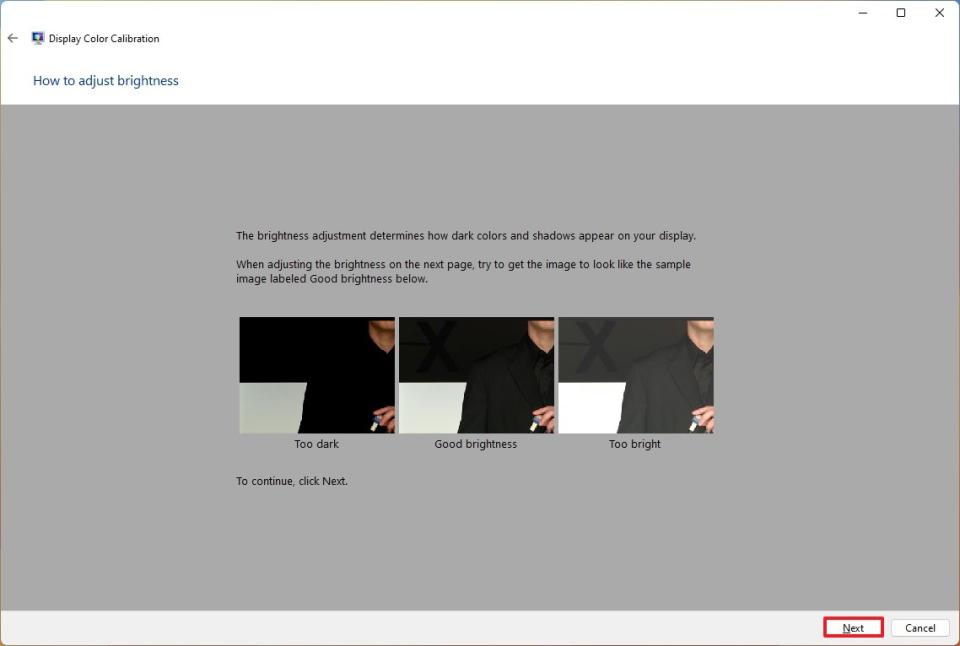
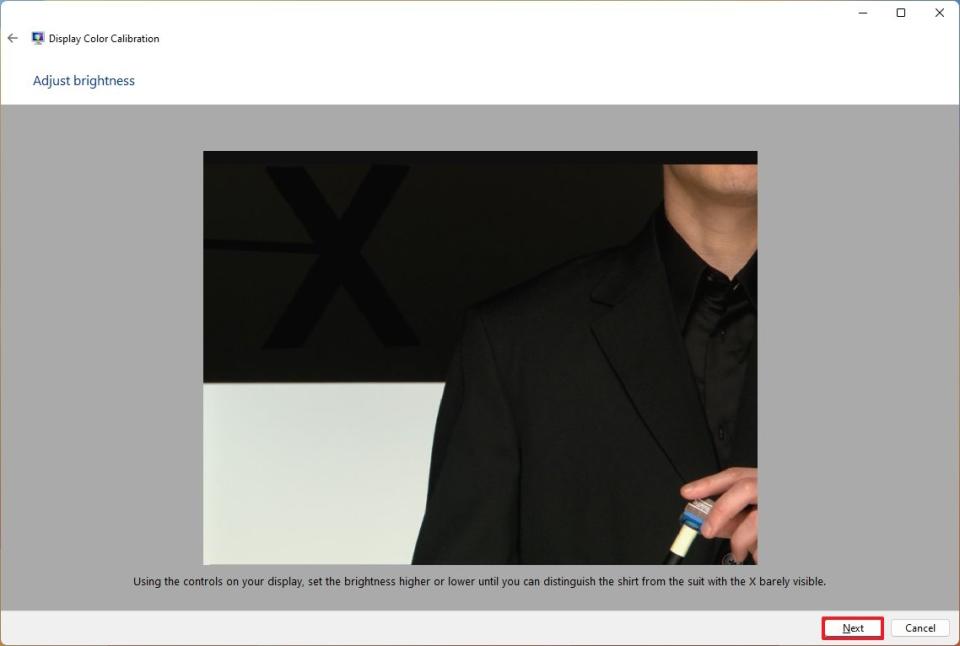
Adjust the brightness level as noted in the description using the monitor's hardware controls.
Click the Next button.
Click the Next button again.
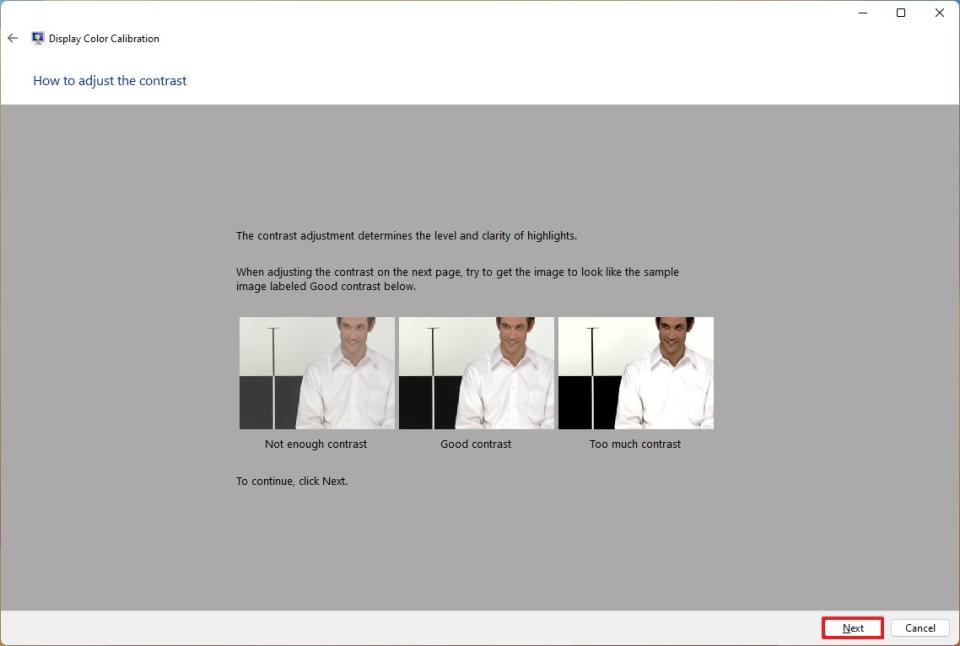
Click the Next button one more time to continue.
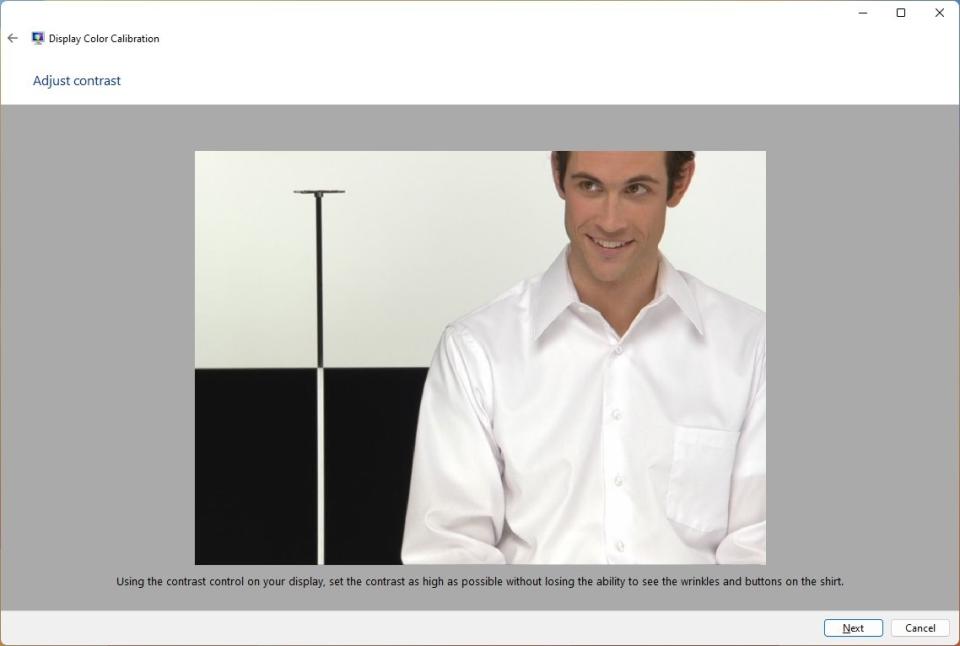
Adjust the contrast level as noted in the description using the monitor's hardware controls.
Click the Next button.
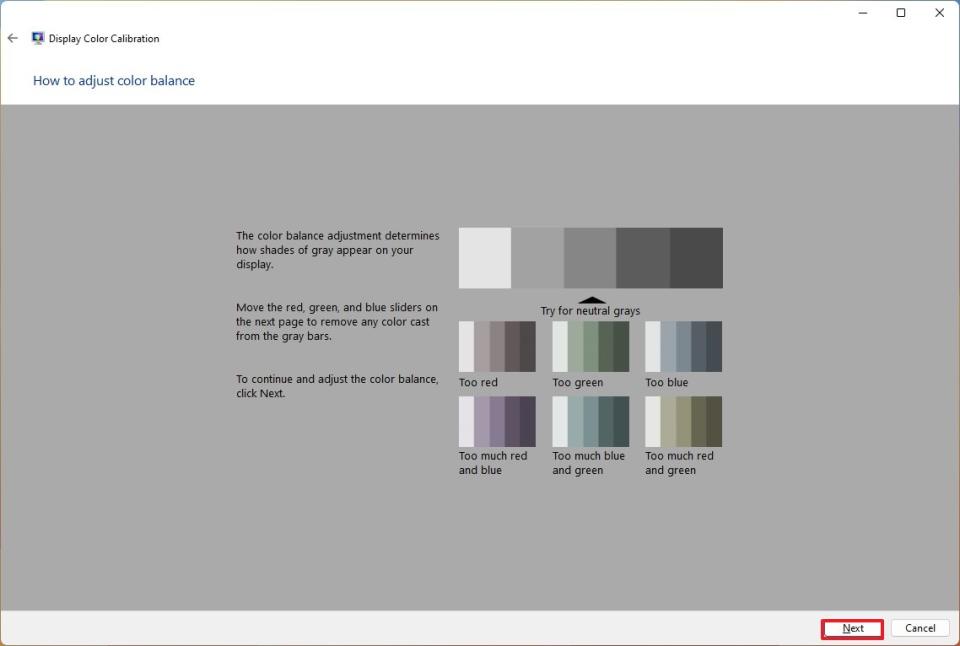
Click the Next button again.
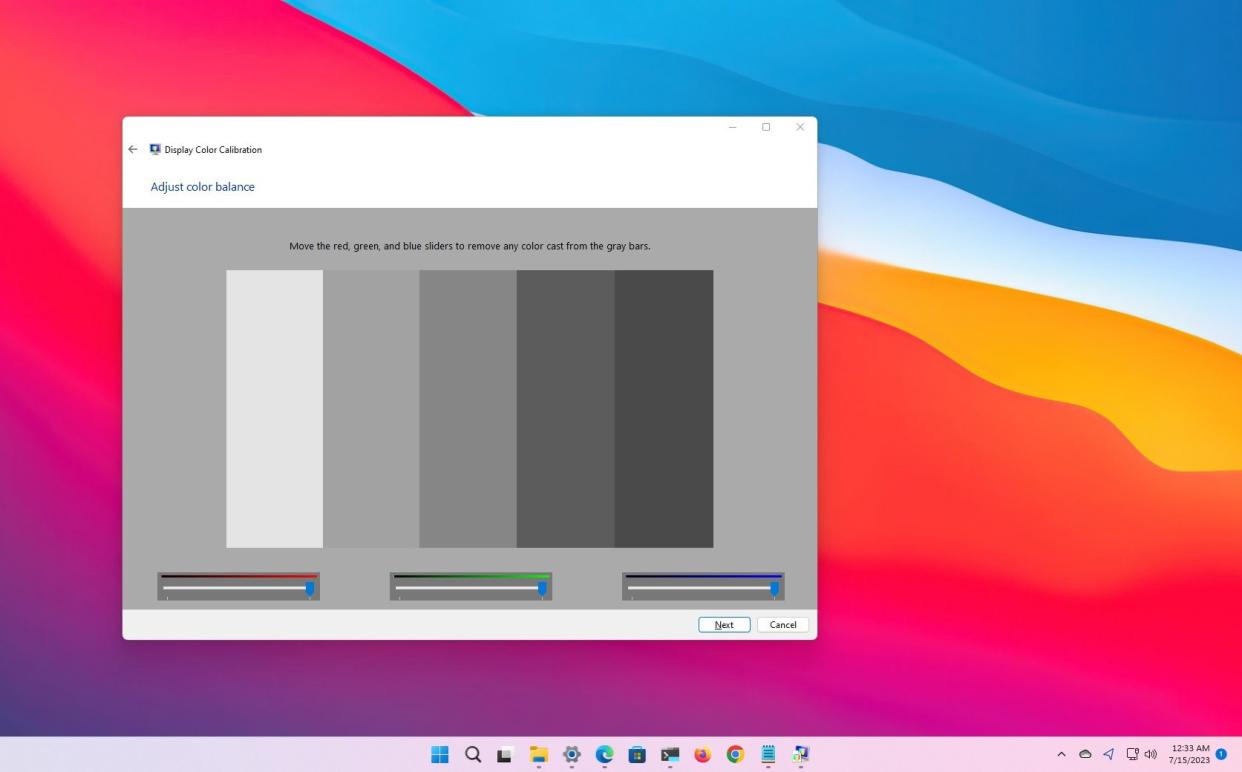
Adjust the color balance using the red, green, and blue color sliders until removing any color cast from the gray bars.
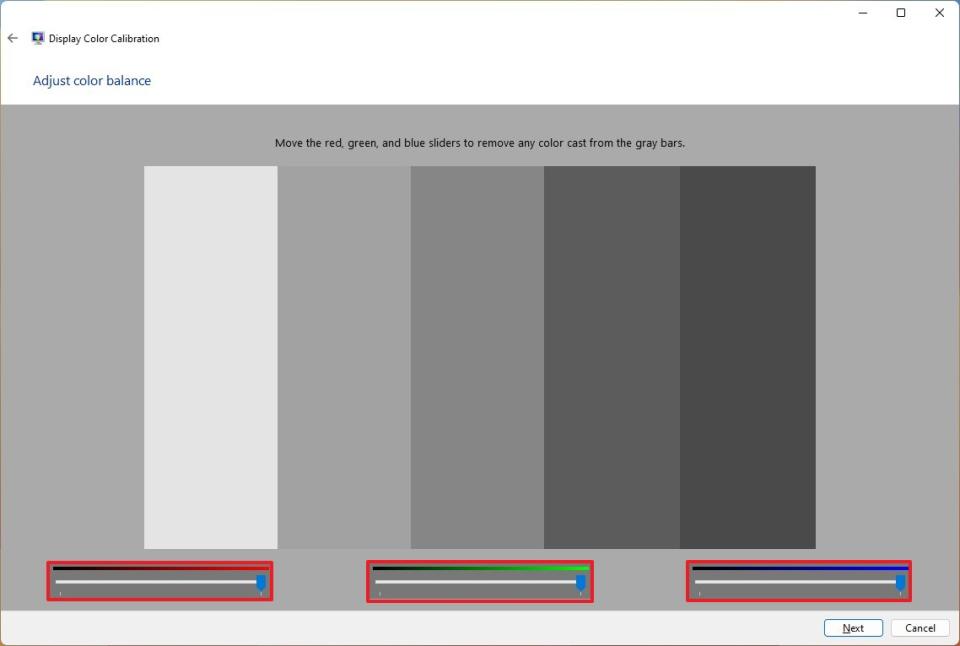
Click the Next button.
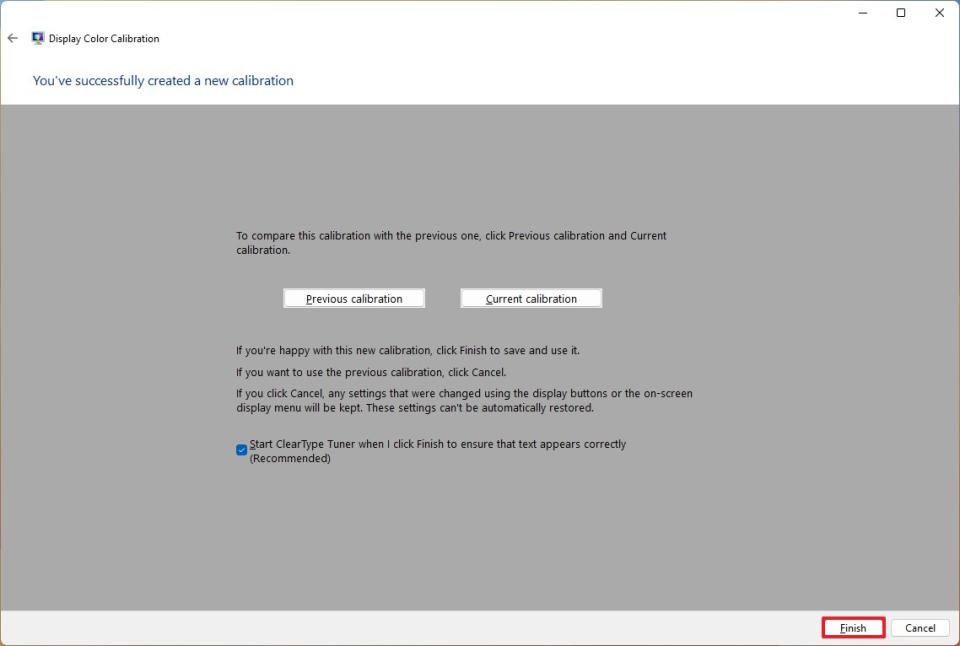
(Optional) Check the "Start ClearType Tuner" option to launch the calibration tool to adjust text rendering on the screen.
Click the Finish button.
Once you complete the steps, you can start using the device with the new color calibration.
Since you're changing the settings on the monitor itself, the new configuration will apply even if you click the "Cancel" button. If you want to revert the settings, open the monitor's menu and use the reset option.
Although the Display Color Calibration tool should be more than enough for everyday users, if your job depends on color accuracy and you have a professional display, you may want to use third-party calibration tools instead of the tools available on Windows 11.
More resources
For more helpful articles, coverage, and answers to common questions about Windows 10 and Windows 11, visit the following resources:

