
Resin Pouring Workshop, Resin Play: “You don’t always have full reign, and sometimes that’s okay”
At this point, I’m convinced that I’ve covered just about every crafts workshop there is to cover. Pottery, jesmonite, clay, punch needling, and now, resin. So if there’s anyone else who’s aware of more mediums I can have a go at (read: destroy), please, let me know.
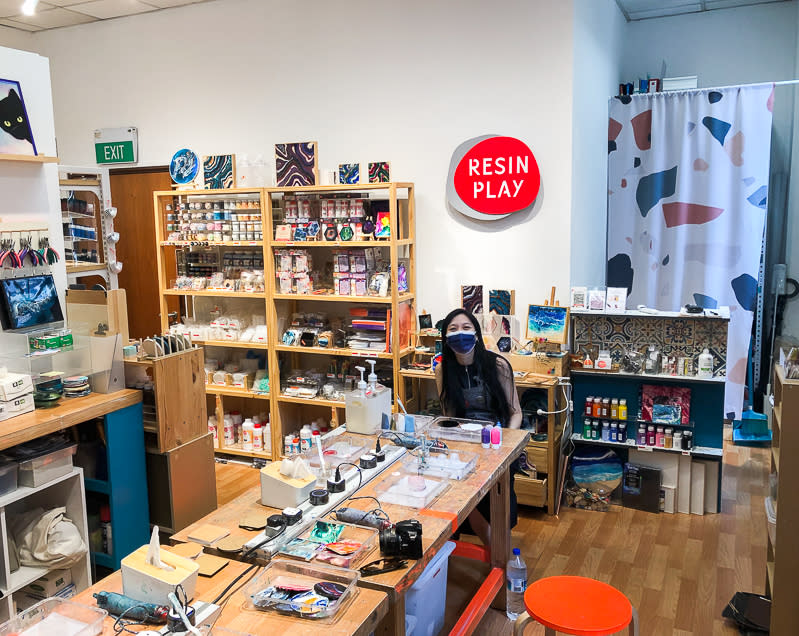
Marked by their signature red-on-grey branding, Resin Play’s presence in the industry has long been making ripples and waves. Today, we’ll finally get the chance to experience the medium first-hand.
Resin pouring
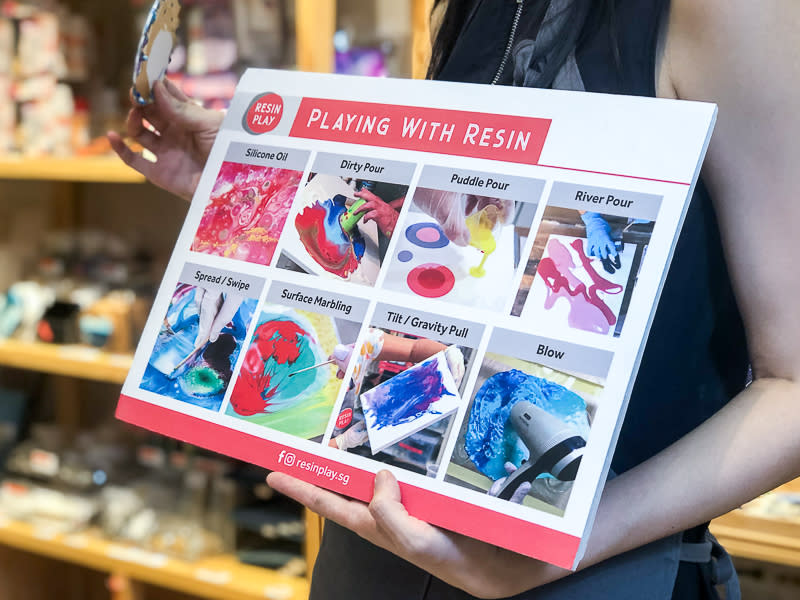
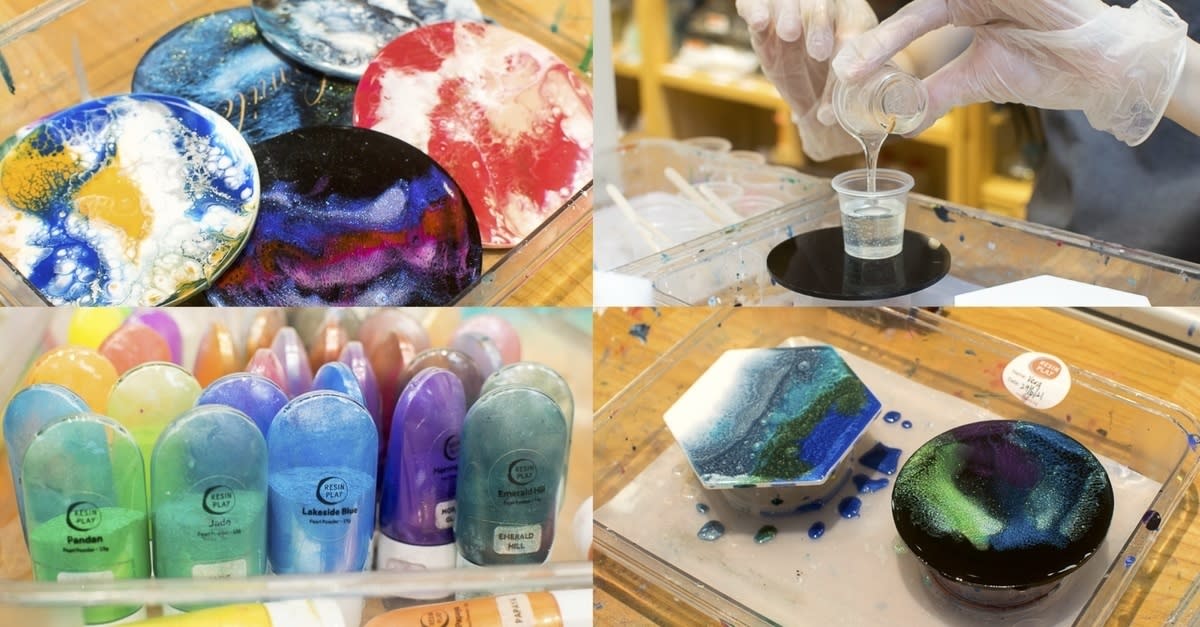
Before today, resin pouring to me was just that—slowly letting your resin drip and spread until we’re all 92. But turns out, the River Pour, Puddle Pour, Dirty Pour, Silicone Oil, Swipe, Surface Marbling, Gravity Pull, and Blow methods exist, Elaine explains.
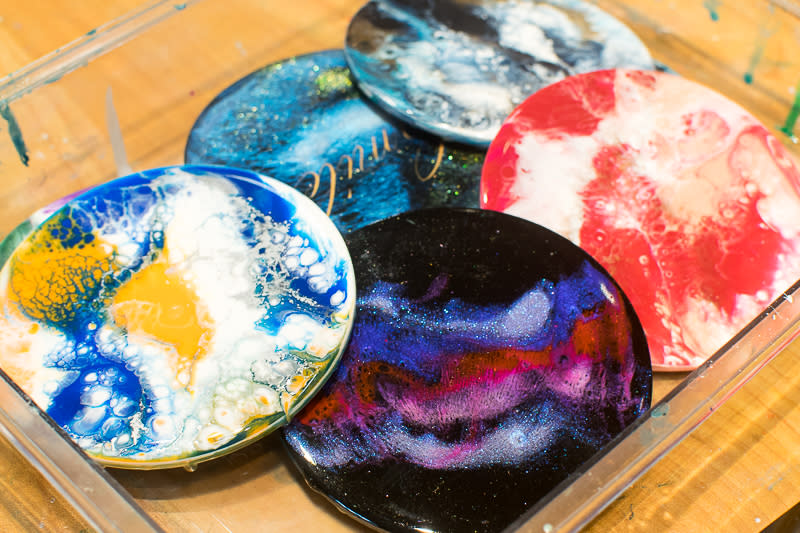
So if you’ve ever wondered just how the intricate, complex patterns on resin pieces came to be, all your burning questions will be answered today. Recently made popular, perhaps you’ve eyed the shoreline-like patterned coasters which can be achieved using the blow method, or maybe the galaxy aesthetic, made realistic with silicone oil, is right up your alley.
Colouring resin

Like many other crafts, resin crafting really is science at the heart of it. As with all mixtures and mediums, it’s a balance game; treading the fine line of proportions lest your resin solution becomes too viscous or too thin.
It starts with the fun part—selecting your colours. But because resin has an extremely short working time of half an hour, it’s recommended to pick your colours before getting your resin solution going just so you’re not desperately clamouring about like a chicken on steroids. The last I checked, crafting was supposed to be soft and therapeutic and comforting.
Even those who lack any colour sense have absolutely nothing to fret over because Elaine and her expertise already have that sorted with a tried and tested colour board. The golden rule of four colours consisting of one white base, one metal accent, and two contrasting colours, “always works beautifully”, or so her board says.
To start, Elaine recommends a simple galaxy or dirty pour pattern-mixing, and if you’re up for it, experimenting with silicone oil to create cell-like designs is also an option. But of course, God forbid I follow recommended instructions.
It’s no surprise that my extra-a** self decides to attempt a seascape piece on my white hexagonal tile, and an aurora borealis-inspired pattern for my black rounded tile. Because if we’re not going for gold, what’s the point then, really. I’m kidding, normalise and celebrate all forms of works and interpretations, please.
I find myself reaching for hues of blues, greens, and purples for the aforementioned vision, and now the only trouble left is making everything look nice all together. No pressure.
Resin mixing
Now that we’re done with portioning out pea-sized drops of each shade, we move briskly on to the time-sensitive portion of the crafting process.
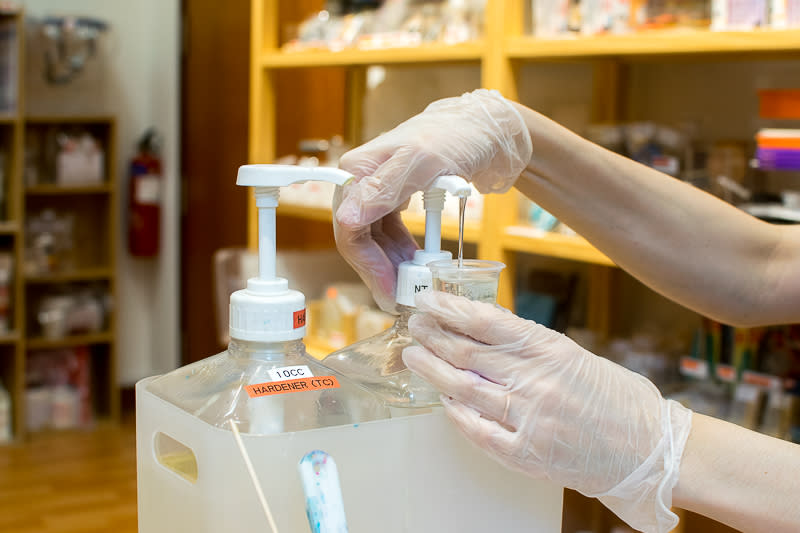
The first step has us adding one full pump of resin and hardener each, in a perfect one-to-one ratio—well, as perfect as perfect can be, anyway. Then, you mix for your life. Or, until it’s about 70% water clear.

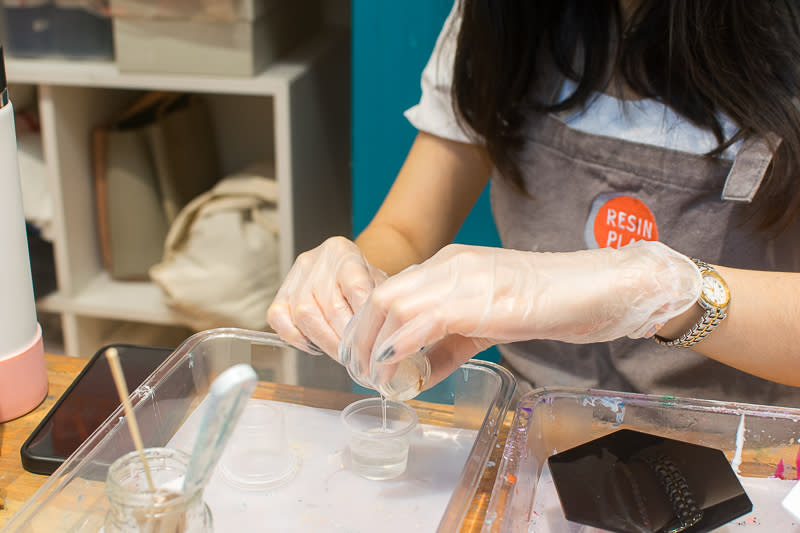
Then, transfer it over to another cup to what we call double-cup mixing in order to get rid of any sneaky, stuck bits along the nooks and crannies of the first cup. The mixing business continues until the mixture turns a 100% water clear, but you want to avoid stirring too hard and accidentally bubbling the mixture.
Once that arm workout’s done, portion the resin equally into your pigment cups, but save just a tad bit of clear resin to seal off the finished work at the end.
Patterning
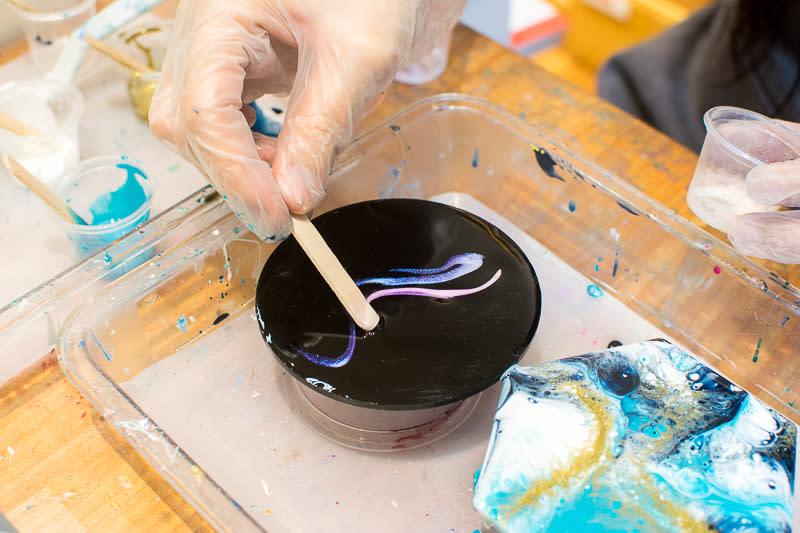
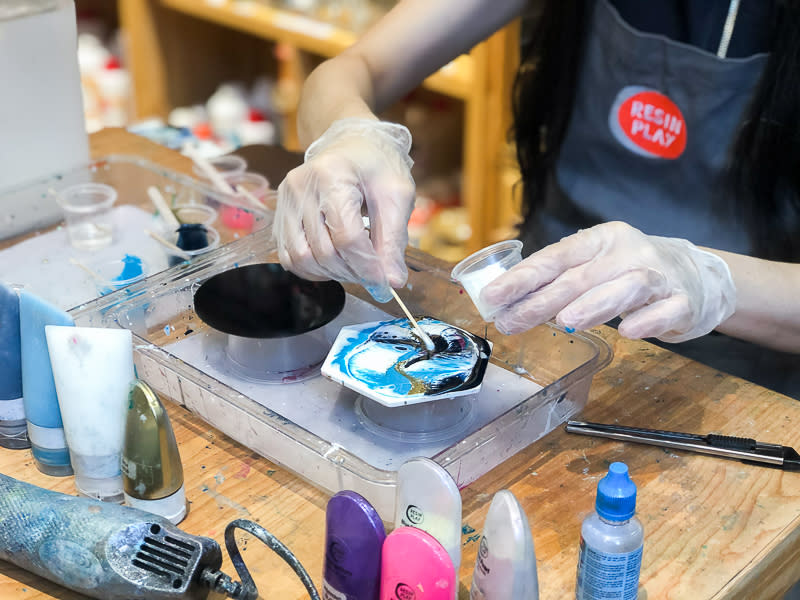
Equipped with the aforementioned pouring methods, now’s the time to put whatever we’ve learnt to the test. Layering carefully, I cautiously and gently streak each shade of blue across my white hexagonal tile, leaving just a tiny bit of negative space that’ll (hopefully) act as my shore.
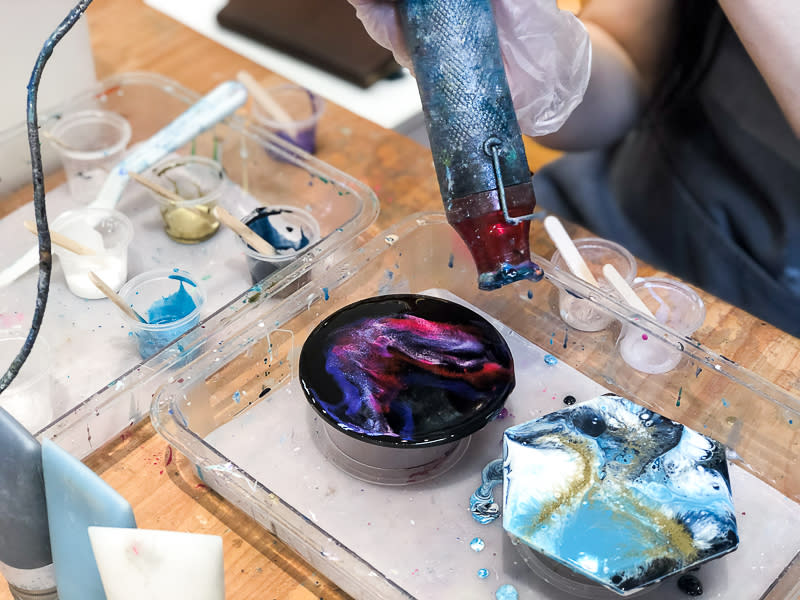
Using nothing more than a mini blow dryer, we’re taught to gently wave the blower just over the parts meant to be blended, letting air and science do the work. It’s fascinating, really, watching swirls and whirls form like rolling clouds in a breeze.
Final thoughts

What separates resin from other mediums I’ve previously worked with is how little control you can have over the final product. With pottery, punch needling, and clay, your finished piece is quite literally in your hands, but with a medium as free as resin, the material goes where it wants to go.
You don’t always have control and hold and reign over the exact final product. And sometimes that’s really okay.
Each resin pouring class is capped at five students, and prices start from S$100. For more information on Resin Play’s workshops, click here.
Other articles you might like:
8 SethLui.com-approved craft workshops that will get your creative juices flowing
These 5 DIY Craft Kit Brands From Singapore Will Awaken Your Inner Picasso
The post Resin Pouring Workshop, Resin Play: “You don’t always have full reign, and sometimes that’s okay” appeared first on SETHLUI.com.

