
Make a Plain Lamp Shade Look Super High-End With This Easy DIY
There are a few important things to know about "fancy" (i.e. patterned, non-neutral or otherwise embellished) lamp shades: First, they can make any lamp, sconce or other light fixture look infinitely more luxe. Second, they're surprisingly hard to find. (Ballard Designs is one of the few mass retailers that sells them; Etsy is also always a good idea.) Third, they can get ridiculously expensive (but arguably worth it if you have the budget!).
And finally: In some cases, a one-of-a-kind decorative lamp shade can actually be quite simple to DIY (not to mention it'll cost a fraction of the price of a truly high-end one). While we'd suggest leaving anything pleated or gathered up to the pros (click here for some of our favorite ready-made versions), if you're simply looking to upgrade an existing shade with a new color or pattern, it's as easy as gluing on some decorative paper or fabric. (Or you could paint it!)
Since we're currently obsessed with all things marbled, we're going to show you how to make your own custom shade using handmade paper from Etsy. But you can use just about any decorative paper—try it with a favorite wrapping paper, wallpaper, or even an oversized vintage print! Make sure to add trim to the edges to give it a truly finished (read: not DIY-y) look.
You'll Need
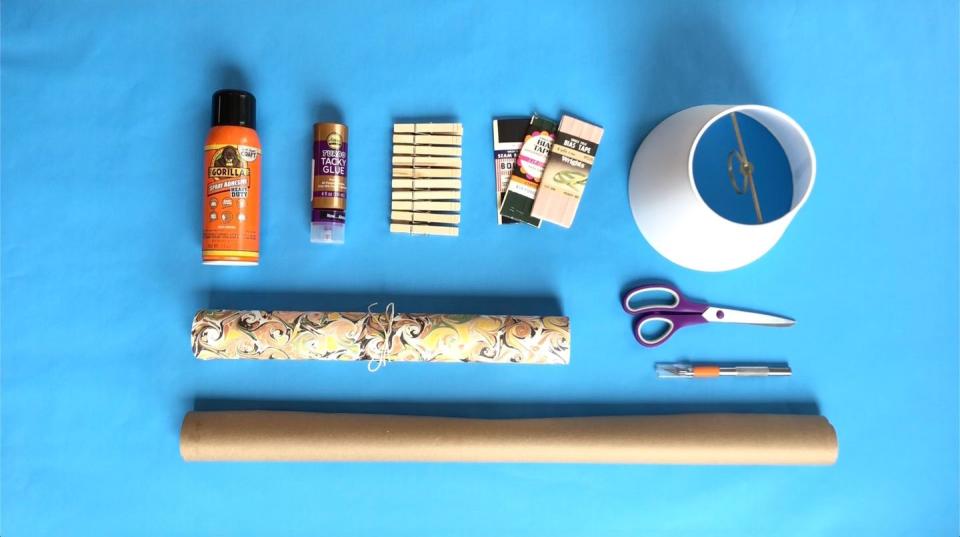
A paper or parchment lamp shade
Marbled paper (or other decorative paper)
Ribbon, bias tape, or other trim for the edges
Spray adhesive
Glue
Kraft paper
Scissors
Craft knife
Clothespins
How to DIY a Decorative Paper Lamp Shade
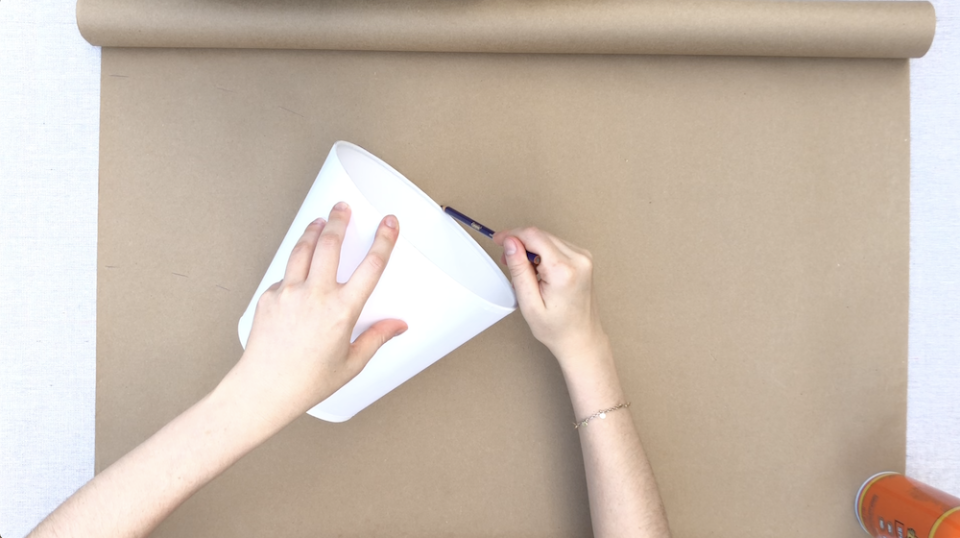
1. Create a template by rolling your shade across a piece of kraft paper (or other large sheet of paper), tracing the outline as you go. (Tip: Start and end at the lamp shade seam to make sure you've done one a full rotation.)
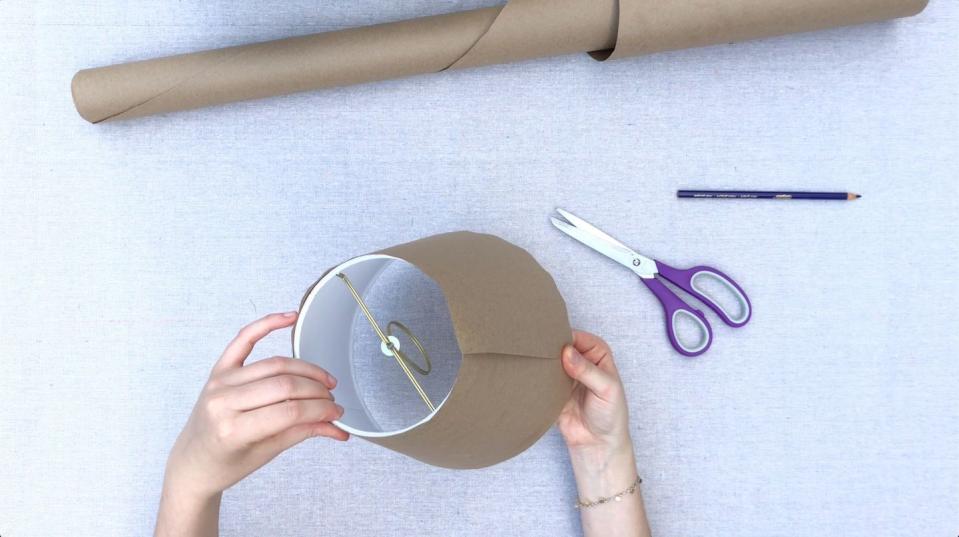
2. Cut out the template, leaving at least an inch of extra paper on each side. (It's better to have too much than too little!)

3. Check to make sure that the template is large enough by wrapping it around the shade.
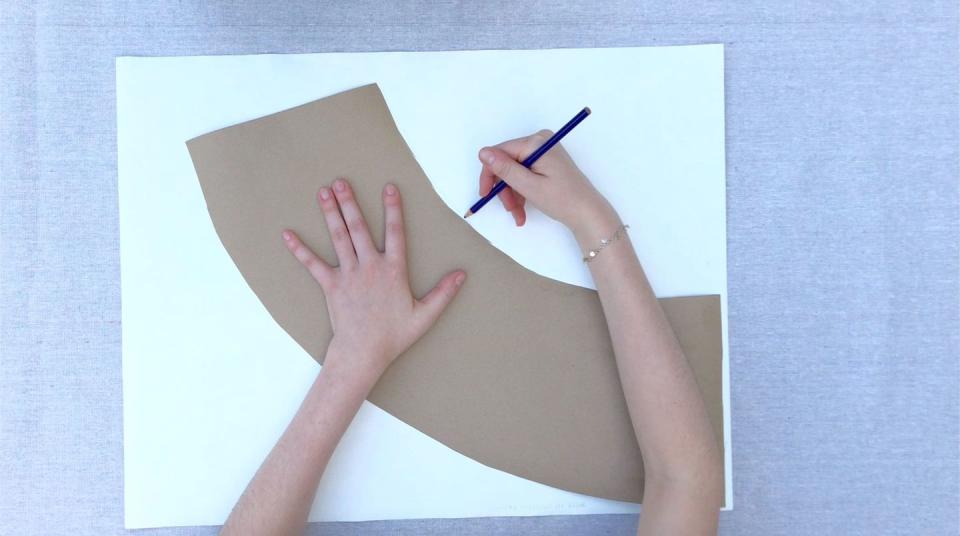
4. If the template covers the shade completely, trace it on the back side of your decorative paper and cut out.
5. Spray both the back side of the decorative paper and the shade with a light coating of adhesive. You can use more kraft paper underneath to protect your work surface.
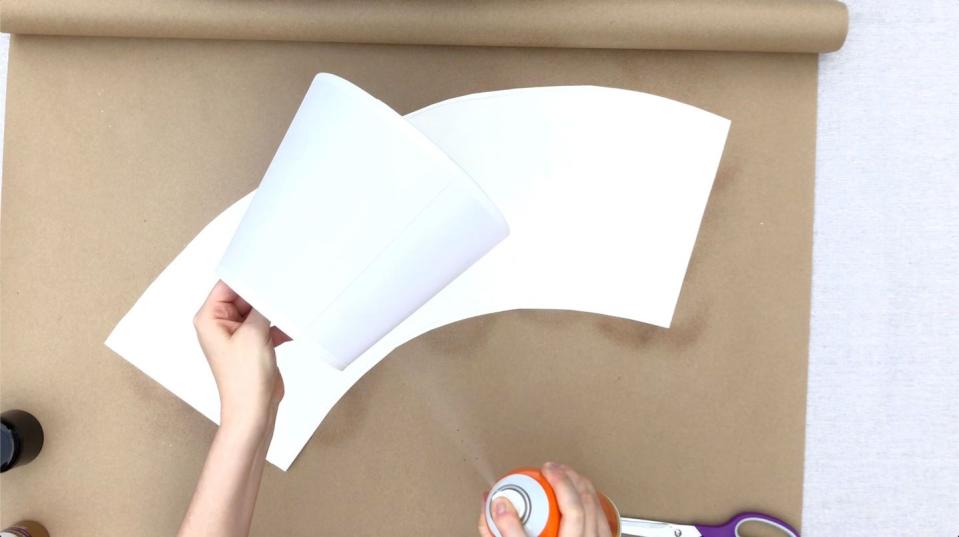
6. Attach the paper to the shade, smoothing it down as you go. Spray adhesive tends to dry quickly, so work fast!

7. Use glue to secure the edge.

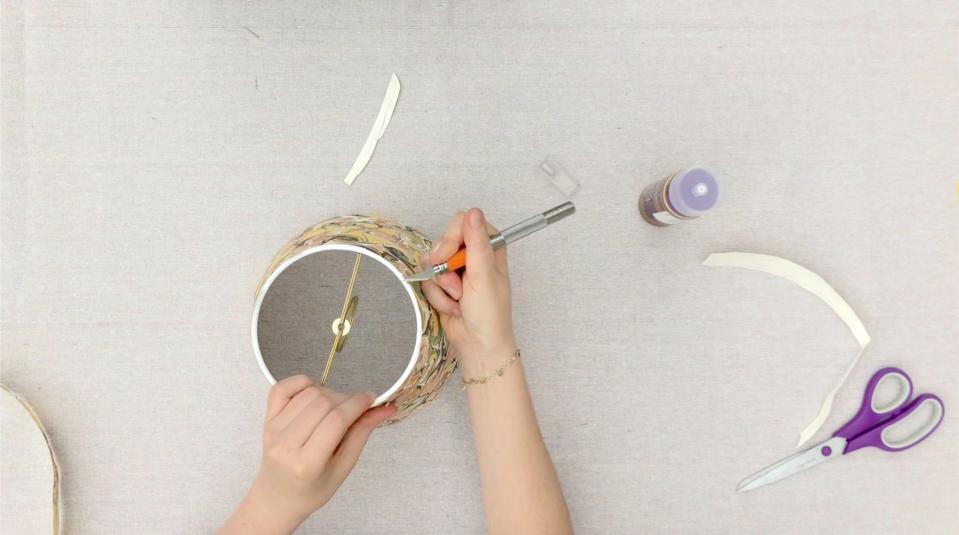
8. Trim any overhang with a craft knife.
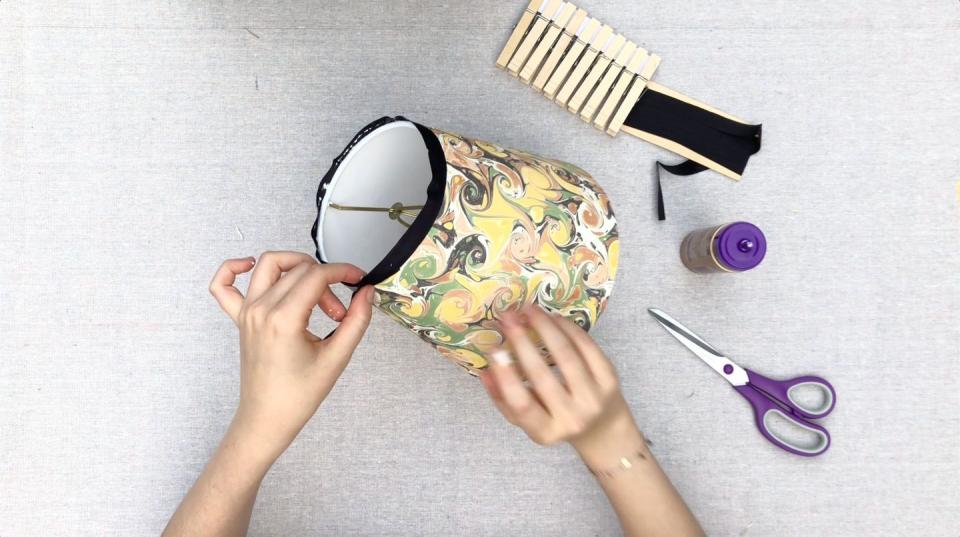
9. Glue a strip of bias trim, hem tape, or other trim around the top and bottom. (Tip: Fold it over the edge for a more finished look.)
10. Use clothespins to hold the trim in place as it dries.
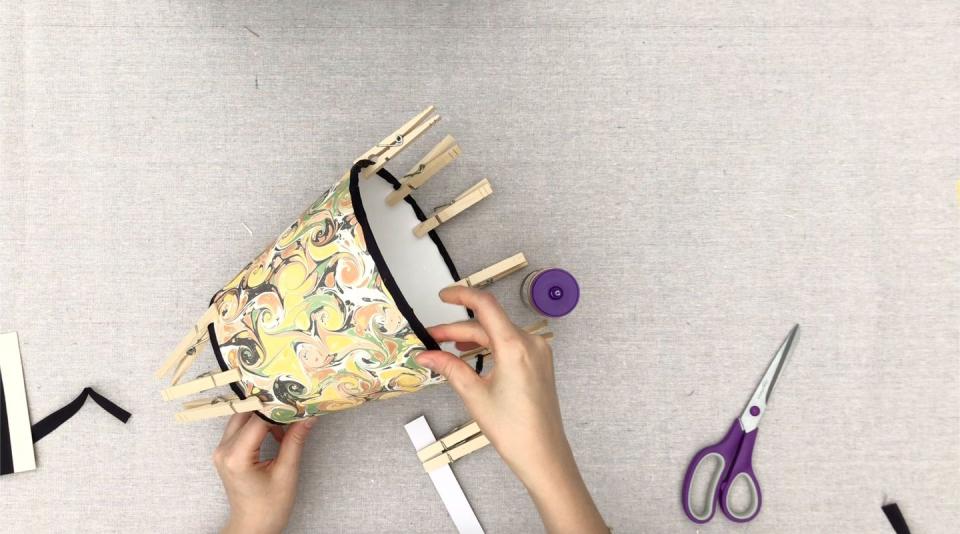
Once the glue has dried, your shade is ready to use!

Follow House Beautiful on Instagram.
You Might Also Like
