
This Lawn Mowing Technique Will Make Your Lawn Look Professionally Landscaped
You’ve tended your vegetable garden, planted some flowers and shrubs, and pampered your lawn with plenty of TLC. Now it’s time for the finishing touch: Lawn edging! “Edging separates your lawn from the other parts of your yard,” says Russell Hall, franchise business coach for The Grounds Guys and former landscape company owner. “It keeps these areas tidy and prevents grass from creeping over walks or driveways and into flower beds. It’s a relatively easy DIY project that gives your lawn a beautiful, more manicured appearance.”
Here’s what you need to know about how to edge your lawn:
Do it early in the season
This chore is simple, but that doesn’t mean it goes quickly, especially if you have heavy or clay soil. Plan to do it in early spring before it gets too hot. It’s also a tad easier to do earlier in the season before the grass is lush and thick. Typically, you’ll need to edge once a year, though some homeowners like to refresh the look later in the season. Don't forget to wear protective gear such as gardening gloves and eye protection.
Lay out new beds
If you’re planning new planting beds or expanding existing ones, use a can of spray paint to draw a pattern directly on the ground, suggests Hall. If you’re unsure what shape you want, use string or a hose to get the idea first, then spray on the design once you’ve decided.
Use an edging machine
You can rent a gas-powered mechanical edger, which cuts vertically into the ground about 6 inches deep and cuts away the turf. The machine is about the size of a push lawn mower or small tiller and may be a little cumbersome at first. “There’s definitely a learning curve as you get the feel of it,” says Hall. Or, you can purchase a small electric cordless or cordless unit that you wheel along the ground, though it typically cuts only an inch or so deep. No matter which type of edger you use, you’ll have bits of grass and soil to shovel and cart away or compost.
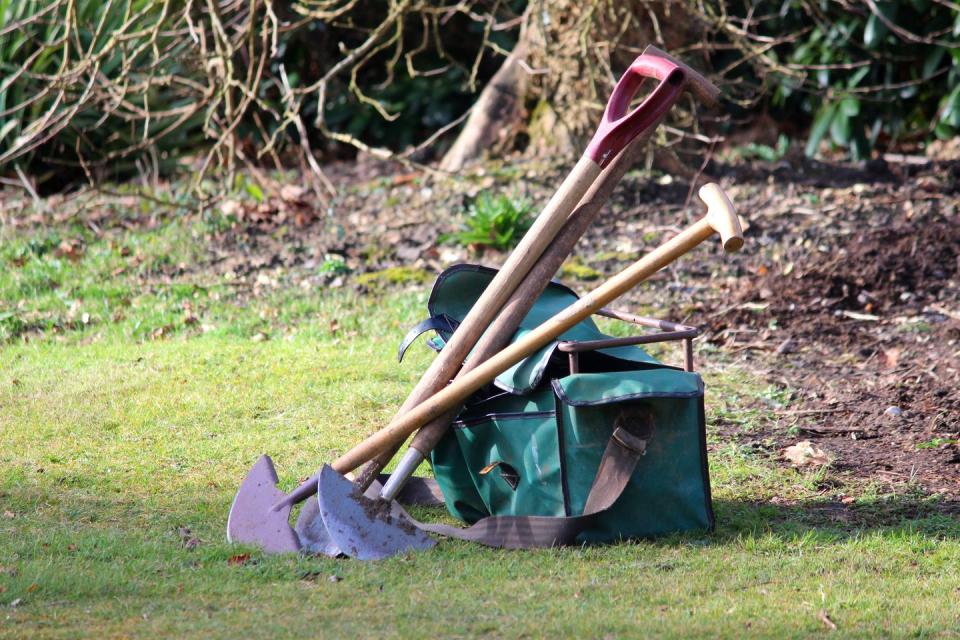
...or edge by hand
If you want to go old-school, use a digging shovel or an edger tool, which has a long handle with a flat half-moon shaped blade on one end. Position the tip of the spade where you want the cut, holding it at a roughly 60-degree angle. Pierce the ground, and go down at least 3 to 4 inches deep for a well-defined edge, which will make maintenance easier the rest of the season, says Hall. Remove the cutaway piece of turf, and clean up the edges of the mini-trench you’ve created so it’s sharp and clean and has a beveled shape. If working with an edger, use your foot to press it into the ground and wiggle back and forth a few times. Then dig out a bit of soil with a shovel if you want a wider trench.
Decide if you want to install permanent edging
Sometimes it makes sense to install permanent edging, such as metal, brick, plastic or landscape timbers around beds and trees. It’s a simple DIY but definitely takes some sweat equity. Even if the instructions claim it’s easy-to-install, plan on spending at least a half-day (maybe more!) putting it into place. But if you do it right, your garden edging should last for years.
You Might Also Like
