
How to Install or Replace a Dimmer Switch
Dimmer switches are always on the list of best quick home upgrades for a reason: The cheap, quick addition can help lower your electricity bill and instantly elevate the mood of your space, day and night. Plus, they're good for the environment. While we recommend hiring an electrician when possible, dimmer switches are one of the easier swaps you can do yourself if you're handy. Just be sure to turn the electricity off at your main fuse box before proceeding with the instructions and tutorial brought to us by Whitney Jones below!
Materials:
Dimmer switch
Flathead screwdriver
Phillips head screwdriver
Voltmeter
Wire Stripper
Measuring Tape
Needle-Nose Pliers (optional)
Turn off your electricity before proceeding with the steps listed.
Remove the old switch
Before touching the original light switch, turn off the power at your fuse box. Test the light switch afterward to make sure the electricity is off.
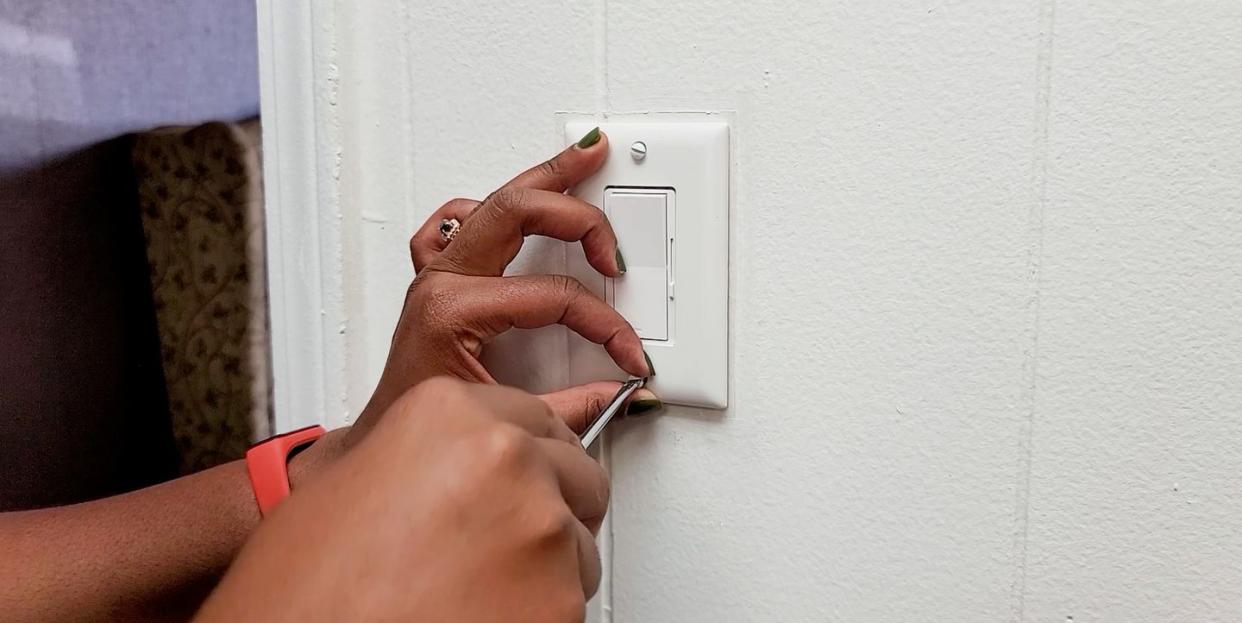
Unscrew the switch plate and save it if you are reusing it. Most dimmers come with a plate to fit the new dimensions, but some are made to fit standard plates. Check your new dimmer package for dimensions to make sure it will fit.
Open the dimmer switch and strip the rubber coating from the wires. Expose at least 1 - 2 inches of copper wire to ensure a tight seal with the wall wires.
Remove the old switch from the wall, carefully unwrapping the wires from the rubber section. Test the wires with the voltmeter to triple-check voltage levels.
Installing a single-pole switch
Single pole switches are your standard light switches. They control the electricity to one light source. You have a single-pole switch if you can only turn on/off your lights using a singular switch. If you can turn your lights off using a different switch than the one you used to turn them on, skip down to the 3-way switch section.
Single pole switches will have 3 wires: a hot lead wire, a ground wire, and a traveler wire. Older homes may only have a hot lead and a ground wire. If you have less than three wires, stop and call an electrician. Older or historic homes can have different wiring and need special care to install.
Have an older home with a single-pole switch? Box dimensions have changed over time. If your dimmer switch is too large for the box space, use a measuring tape to gauge the difference. Take a box cutter to widen the space in the drywall and accommodate the new switch before installing.
Make sure the electricity is turned off at the main fuse box before proceeding!
Connect the ground wire to the corresponding wire on your dimmer. The ground wire is typically green or copper and should be connected to the bottom, center wire on your dimmer.
Use a plastic wire cap to secure the two wires after wrapping, protecting the connection and ensuring a tight seal. Needle-nose pliers can help wrap and secure the wire in tight spaces.
Next, connect the red wire to the hot lead wire and cap them together. They are usually marked red on the wall, but can be black and otherwise taped or marked off.
Connect the final black wire to the remaining traveler wire in your wall, typically marked with a white or black rubber finish.
Finish with a wire cap.
Most dimmers have a fourth wire for a second traveler connection. Use a wire cap to seal the final wire and prevent it from touching the other wires.
Installing a 3-way switch
3-way switches allow for multiple switches to control the same light source. These are more common in new builds to allow for transition in open-concept spaces, but can also be found in midcentury homes that brought open concept living to life.
3-way switches are also marked with four wires in the wall outlet: a ground wire, a hot lead wire, and two travelers to allow for a connection to another switch or outlet.
Make sure the electricity is turned off at the main fuse box before proceeding.
First, connect the ground wire to the corresponding wire on your dimmer. The ground wire is typically green or copper and should be connected to the bottom, center wire on your dimmer.
Use a plastic wire cap to secure the two wires after wrapping, protecting the connection and ensuring a tight seal.
Next, connect the red wire to the hot lead wire and cap them together. They are usually marked red on the wall, but can be black and otherwise taped or marked off.
Connect the two black (one wire may be red with a white stripe) wires to the traveler wires in your wall, typically marked with a white or black rubber finish.
Finish with wire caps.
Install the new switch
Push the wires into the box, being careful not to dislodge the connections and make space for the dimmer box.
Screw the new box into the wall. Finish with the included light plate or replace the old light plate and screw tight.
Make sure the switch is clear of any debris and turn on the electricity at the main fuse box. Test the new dimmer switch by turning it on and off, dimming as you go. Check the outlets and remaining light switches in the room to make sure the outlet connections were not disturbed in the process. For 3-way switches be sure to check the on/off switches at both light switches.
Follow House Beautiful on Instagram.
You Might Also Like

