
The frugal art of taking cuttings to make new plants

Usually when people come over, I tell them to bring ‘just themselves’ and hope for a bottle. The other weekend, though, I had a more specific plea for friends: cuttings from their abundant rosemary bush. There was a rather sad one languishing in the dry, clay-soil beds in my garden that I’d whipped out and put in a pot as part of the Grand Garden Regeneration Plan. It was a kill or cure move, admittedly, and three weeks later little had been cured. I needed more rosemary.
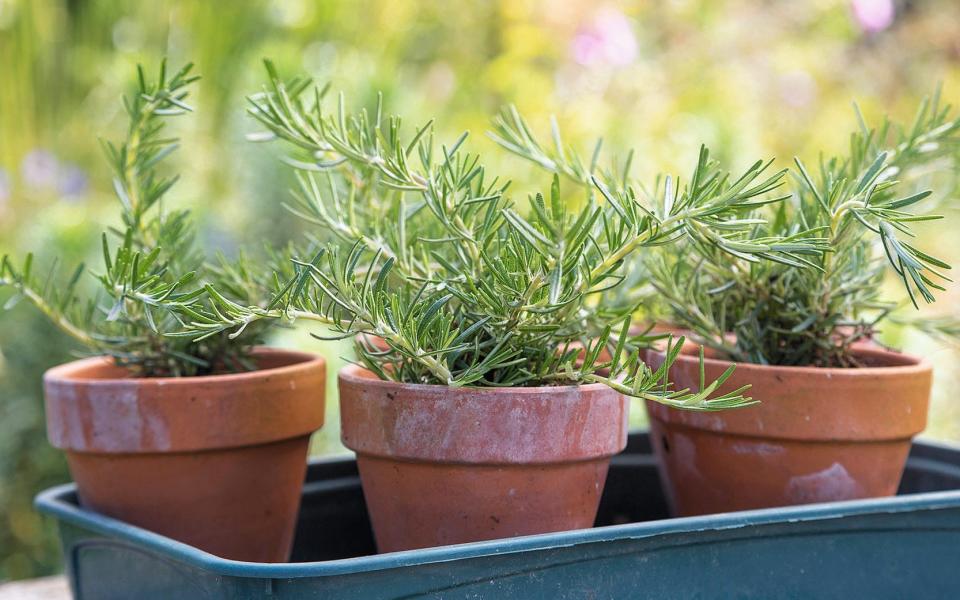
Now is a good time for it. The summer’s growth of woody Mediterranean herbs such as rosemary (but also sage and thyme) have had a chance to toughen up, but there’s still enough growing hormone in the plant. Horticulturally known as ‘semi-ripe’, I tend to think of them as teenage – fertile and still growing. But September is also a sensible time to get propagating because you can take cuttings of all those more tender plants that may not make it through the winter: salvias, pelargoniums, lavender. In short, if you’ve loved it this summer, take and plant cuttings. They are, essentially, free plants.
Back to the rosemary: our dinner guests brought a large, spiky tote bag full. They’re not gardeners, but made up for whatever inexperience in finding a good cutting in sheer quantity. In a perfect world, especially if you’re cutting and propagating on a warm afternoon, it’s best to get the cuttings into a sandwich bag and then into a pot as soon as possible, rather than abandon the lot on the garden table and fix everyone drinks. For a cutting to have the best chance of taking – or rooting and growing – it’s important not to let it dry out.
A good cutting will be growing upwards, not be flowering and come from a healthy plant. Stick to the green, or bendy, growth – you don’t want to be cutting into the woody stuff – and give yourself a decent amount to work with. A good three or four inches will do. Depending on whether you’ve carefully snipped this off with sharpened secateurs or swiftly yanked it from the neighbour’s bush, you may need to tidy up your cutting with a sharp knife. A good, clean edge helps with rooting.
Leave the leaves at the top of the cutting intact, but gently strip away any on the stem, which will focus the cutting’s attention on growing roots, rather than improving its foliage, and allow more room to anchor it in the pot. Grab the nearest plastic pot going – 9-12cm is ideal – and fill it with something free-draining: I used soil mixed with a generous handful of grit. You can use perlite or sand, too.
Carefully push your cuttings around the edges of the pot, where they tend to root better than in the middle, and keep the whole thing moist. If you’ve got a propagator, then pop them in there, otherwise that sandwich bag can be placed on top as long as condensation isn’t allowed to build up; too much of it and those babies could rot. Within a few weeks they’ll be rooted – a check under the pot will show roots through the holes – and you can pot them on.
Alice is the author of ‘Rootbound, Rewilding a Life’ (Canongate, £14.99) and you can follow her on Instagram here.
Read more:
Composting is the gift that keeps on giving - but only if you do it right
