
How to Create Your Own Face Mask Without Sewing Anything
As the COVID-19 pandemic continues to spread throughout the United States, social distancing requirements from the Centers for Disease Control have swiftly changed.
Up until early April, N95 masks weren’t recommended—and actually deemed pointless to wear for anyone but health care workers. But after several studies that revealed coronavirus could be transmitted by people not showing any symptoms at all (you may have heard the term “asymptomatic”), the CDC quickly recommended that everyone cover their face with a mask when outside the home. That's because the mask limits the spread of droplets emitted into the air or onto another person and/or surface when you cough, sneeze, or talk. Really, this mask is more about protecting others than protecting yourself
…Cue the anxiety and stress from people wondering how in the f*ck they’re supposed to get their hands on a mask when even some frontline healthcare workers have struggled obtaining them.
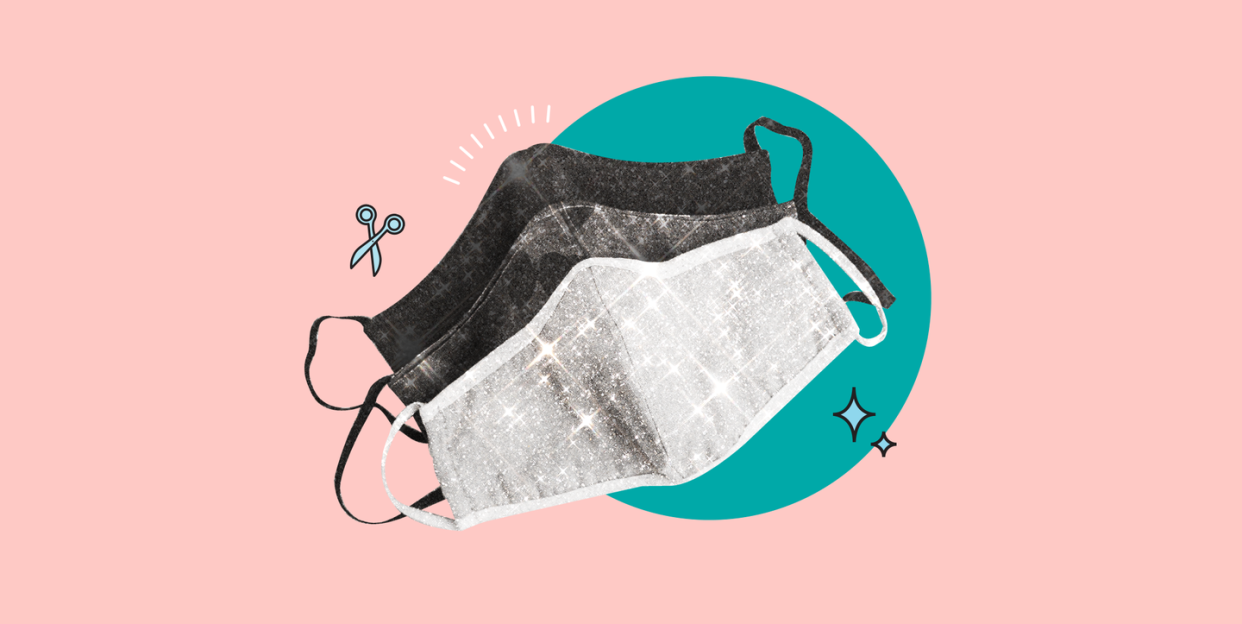
But, hi, here’s a lil secret: You don’t need to (and honestly shouldn't) buy a N95 mask to effectively abide by the CDC guidelines. Not only can you purchase a cloth mask online, but there are tons of DIY ways to make your own mask without a sewing machine, using only household materials I promise you have laying around.
Let’s not forget, though, that in addition to a mask, you should also still stay six feet away from others, wash your hands frequently (yes, please sing the “Happy Birthday” song twice in your head), and remain at home as much as possible.
How do you make a simple homemade mask without sewing?
Okay, lots of ways. First, check for these materials in your household: socks, pillowcases, bandanas, T-shirts, hair ties, rubber bands, and safety pins. Compile everything you have (don’t worry, you don’t need it all!) and refer to the how-to section below, which will explain how to turn what you have into a mask depending on what materials you were able to scrounge up.
What can I use in a face mask as a filter?
A filter is a barrier put in your DIY mask that offers up even more protection than just the cloth. For this reason, it’s worth putting one in your own mask if you have any of the following materials at your disposal: coffee filters, HEPA filters (used for household appliances like furnaces and air conditioners), dryer sheets, or even just some extra Kleenex.
You don't necessarily need a filter, but if you hold your mask up to a light and you can easily see through the fabric, adding a filter can help further prevent the spread of droplets coming from your mouth, advises the CDC.
OK, now let's get crafty!
How to make a mask if you only have a bandana...
If you’ve been outside recently, you’ve probably seen bandana masks used primarily for those who don’t have actual masks. That’s because they’re super easy to make and pretty efficient. Here, home and lifestyle expert Mélanie Berliet from The Spruce walks you through the bandana mask-making process with a bandana and two rubber bands or hair ties.
Step 1: Lay the fabric flat on a table or surface with the patterned side face down.
Step 2: Take the top edge of the fabric and fold it down so it reaches the center of the bandana. Do the same with the bottom half of the fabric so it also meets in the center of the bandana.
Step 3: Repeat Step 2 by folding the top of the fabric down to the middle, and again with the bottom of the fabric up to the middle. (This works to fit your face more effectively).
Step 4: Fold the right and left sides of the fabric toward the center. You’ll now have a small rectangle of folded fabric you’ll be able to place a rubber band—or hair tie—on each side.
Step 5: Take a rubber band and slip it over one end of the folded fabric, leaving just a few inches on the end. Repeat with the other rubber band on the other side of the folded fabric.
Step 6: The side that’s facing you will now be the inside of the mask. To wear, bring the mask to your mouth and put the rubber bands around your ears to hold it secure. The mask should cover both your mouth and nose.
If you're more of a ~visual~ learner, here's a video tutorial:
Okay, now for all those other materials you've collected on your kitchen counter. Here are step-by-step guides for all of them, with video reference, ofc.
How to make a mask if you only have a sock...
Step 1: Pick your sock and lay it out across your surface horizontally.
Step 2: Fold the right side of the sock toward the center. Then, take a pair of scissors and cut to the left of the fold. Remove the excess piece.
Step 3: Unfold the material and lay it up and down vertically. Then, using your scissors, cut from the ankle hole opening to the other opening. This should create a stretchy rectangular-shaped fabric.
Step 4: Open up the fabric completely, fold it vertically again, and then again once more. Using your scissors, cut into the folded sock an inch from the top, but not all the way through.
Step 5: Once you unfold your sock, you’ll see the cut created loop holes to go around your ears. Place some sort of filter inside for more protection.
How to make a mask if you only have a pillowcase...
Step 1: Iron the pillowcase, trim off the edges, and cut the pillow case in half roughly into a 20x26 inch rectangle.
Step 2: Fold the pillowcase into thirds.
Step 3: Wrap one rubber band or hair tie a few inches in around the left side of the fabric. Repeat for the right side of fabric.
Step 4: Tuck in the excess fabric and place the fabric around your mouth.
How to make a mask if you only have a T-Shirt...
Step 1: Using a regular short-sleeved collared T-Shirt (avoid V-necks if possible), put on your shirt as you normally would. Once your head is in half-way through the collar, leave it there so the top part of the collar is right above your eyebrows, and the bottom part of the collar is under your chin.
Step two: Using the sleeves on both sides, tie them together behind the back of your head into a knot (or whatever is comfortable) securing a tight grasp around your face.
Step three: Pull up the extra fabric around your neck and place it over your mouth. (Yes, you will look like a ninja). Make sure to add a filter for this.
How to make a mask if you only have a scarf...
Step 1: Pull out your scarf (preferably one made of cotton and at least 30 inches). Place the scarf down. Then, grab one edge and fold it toward the opposite edge around 4-6 times.
Step 2: Now that you have the scarf folded, take two regular pony-tail holders and place it around each end about 3-4 inches in.
Step 3: Place the folded scarf around your neck. Using another hair tie or rubber band, loop the two loose ends together.
Step 4: Once you have it secured, twist the scarf around and pull the scarf over your face by placing the two elastics over your ears.
Step 5: To tighten, grab the two ends in the back of your head and pull them together.
You Might Also Like

